


Fred's Appliance Academy
October 17, 2022
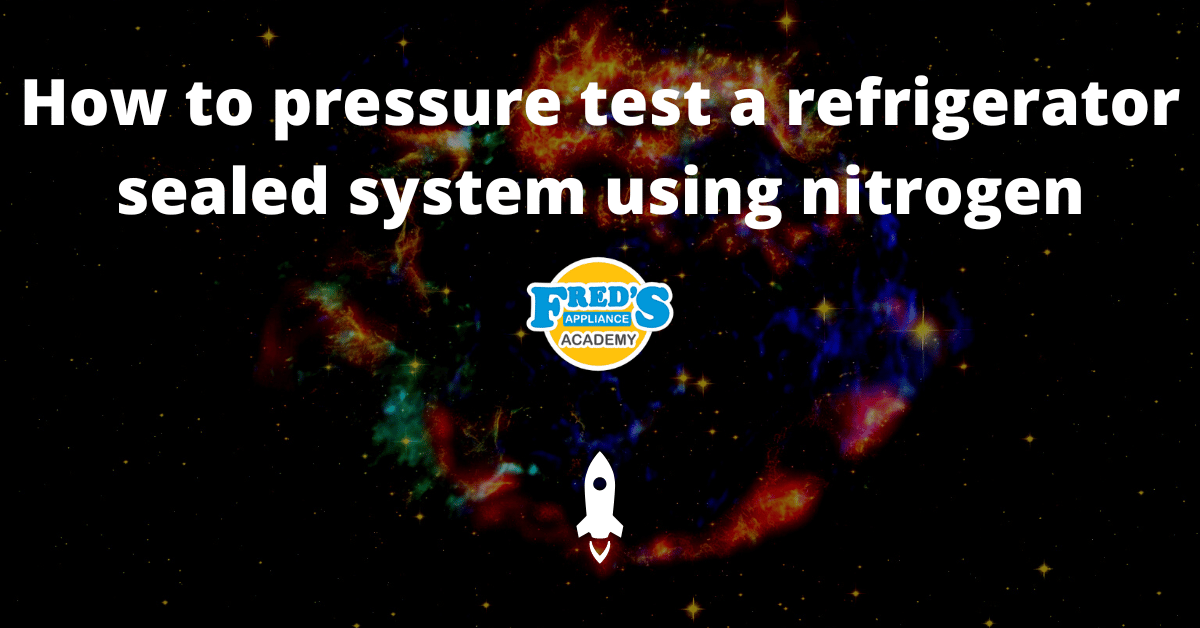
Refrigerators
First, begin by attaching your service hose to the process stub on the compressor. Next, attach the service hose to the regulator on your nitrogen tank. Next, turn your nitrogen tank on and you can see in this tank here we have about 1,000 PSI. A brand new tank should have about 2,000. Deliver nitrogen to the refrigerator by turning the T-handle to the right until you reach about 100 PSI. Turning the handle to the left will decrease pressure or turn it off.
With nitrogen now pressurizing the system, check all of your joints for leaks. As we can see here, we have a fairly large leak on our suction line and it can easily be heard. This is not always the case. And on smaller leaks, sometimes bubble testing is required. Here I have the nitrogen turned down to just a few PSI at most. And while you can still hear the wisping noise when I put the applicator on it, it's nowhere near as loud as it was before. And as nitrogen is leaving the system and the pressure is further decreasing, you can see that the bubbles become smaller and smaller. The smaller the leak, the smaller the bubbles you will have.
Please keep in mind when bubble testing that the system should always be pressurized: one, to prevent the solution from being drawn into your sealed system, and two, you won't see bubbles.
Join the industry's best trainers.

(800) 781-1814Text or ring! ring!
Live ChatClick to say hi

Apr. 05, 2024
How to test a gas range ignitor

Mar. 29, 2024
Congrats to our graduating March 2024 class

Mar. 22, 2024
How to test a 120 volt receptacle

Mar. 01, 2024
Congrats to our graduating February 2024 class

Feb. 05, 2024
Why Is Your Dishwasher Soap Not Dissolving? (5 Easy Fixes)

Feb. 05, 2024
Refrigerator Dripping Water Inside? 5 Quick Fixes
Feb. 02, 2024
Appliance Industry 2023 Q4 Results

Feb. 02, 2024
Congrats to our graduating January 2024 class
Jan. 26, 2024
Clever ways to use airbags to level your appliances
Jan. 12, 2024