


Fred's Academy
January 12, 2024
Appliance Electrical Theory
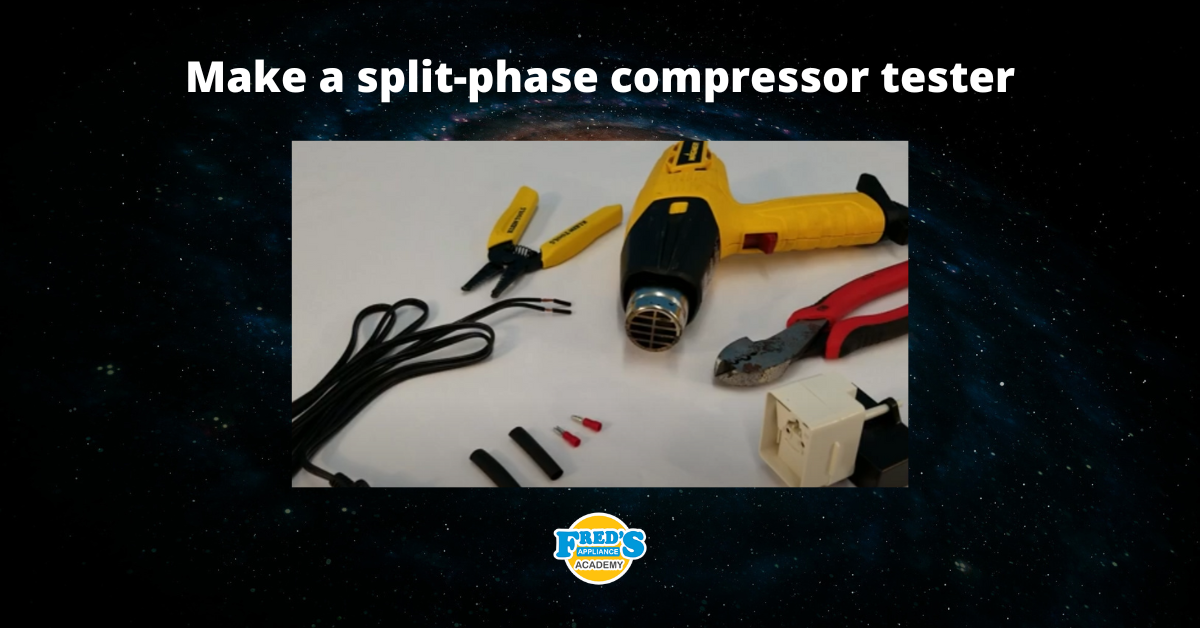
Making a split phase compressor tester using the components on the screen. Most cords don't come pre-stripped as you see, so I'm gonna show you how to go ahead and strip the cord. So basically we're simulating that it had a receptacle on one end. We're gonna go ahead and cut that off and then peel apart the HOt and Neutral. Next, we're gonna strip away around 1/4" of the insulation to remove this insulation. I prefer to twist it as opposed to using the tool itself. It just helps to keep the copper together a little bit better and keep the strands of copper tightly twisted.
Next, we're gonna crimp on our connectors, and these connectors we're using are 2.8 x 0.5 millimeters and can commonly be found online and usually are bought in packs of around 50 to a hundred. Once the connector is in place, we need to go ahead and crimp it and there's a variety of different crimping tools that you can find out there, most commonly found at any hardware store. However, to be completely honest with you, when done properly, just a regular pair of pliers will do the trick. Be sure that your crimps are tight as any loose connection is a bad connection. After the connectors have been secured, we're gonna go ahead and take some shrink tube and slide it over the connectors as well as the wiring itself after we shrink down this shrink tube. This allows the wiring to be a little bit more rigid and deal with everyday use.
It also prevents the crimp-on connectors from accidentally being pulled off. However, if they are in need of being removed, you should always grab the connector and never pull on the wiring. Here I'm using a heat gun to shrink down the tubing. And to be honest, a hairdryer might do the trick for you. However, a heat gun is gonna work a little bit faster and you can find one at any local hardware store. To be completely honest with you, you can use a lighter to do this process, however, it's a little less than desirable as a lighter will leave a little soot behind. Once the shrink tubing has been shrunken down to its desired size, it's time to plug the connectors into our PTC start device to connect to the two wires properly. The hot wire should connect to the backside of the thermal overload as seen here with the terminal up top and the neutral on the opposing side. In reality, these will work normally with the wiring in either position. It's just good to practice correct polarity. Remember, we're using alternating current and not DC current, which would be direct current. Once the terminals have been connected to your PTC START device, it's ready to use. Simply plug into the compressor in question and plug the start device into the wall. If the compressor runs, either the compressor previously was not getting power or had a faulty start device. If the compressor does not run, the compressor is faulty and will need to be replaced.
120 V power cord https://amzn.to/3D1tF4X
Crimp on connectors https://amzn.to/3roxoqr
PTC relay w/run cap https://amzn.to/3pFcfYK
Crimping tool (see wire strippers)
Heat gun https://amzn.to/43eNEaW
Heat Shrink https://amzn.to/44AzEJO
Wire strippers (and crimping tool) https://amzn.to/3JN0uGw
Join the industry's best trainers.

(800) 781-1814Text or ring! ring!
Live ChatClick to say hi

Apr. 05, 2024
How to test a gas range ignitor

Mar. 29, 2024
Congrats to our graduating March 2024 class

Mar. 22, 2024
How to test a 120 volt receptacle

Mar. 01, 2024
Congrats to our graduating February 2024 class

Feb. 05, 2024
Why Is Your Dishwasher Soap Not Dissolving? (5 Easy Fixes)

Feb. 05, 2024
Refrigerator Dripping Water Inside? 5 Quick Fixes

Feb. 02, 2024
Appliance Industry 2023 Q4 Results

Feb. 02, 2024
Congrats to our graduating January 2024 class
Jan. 26, 2024
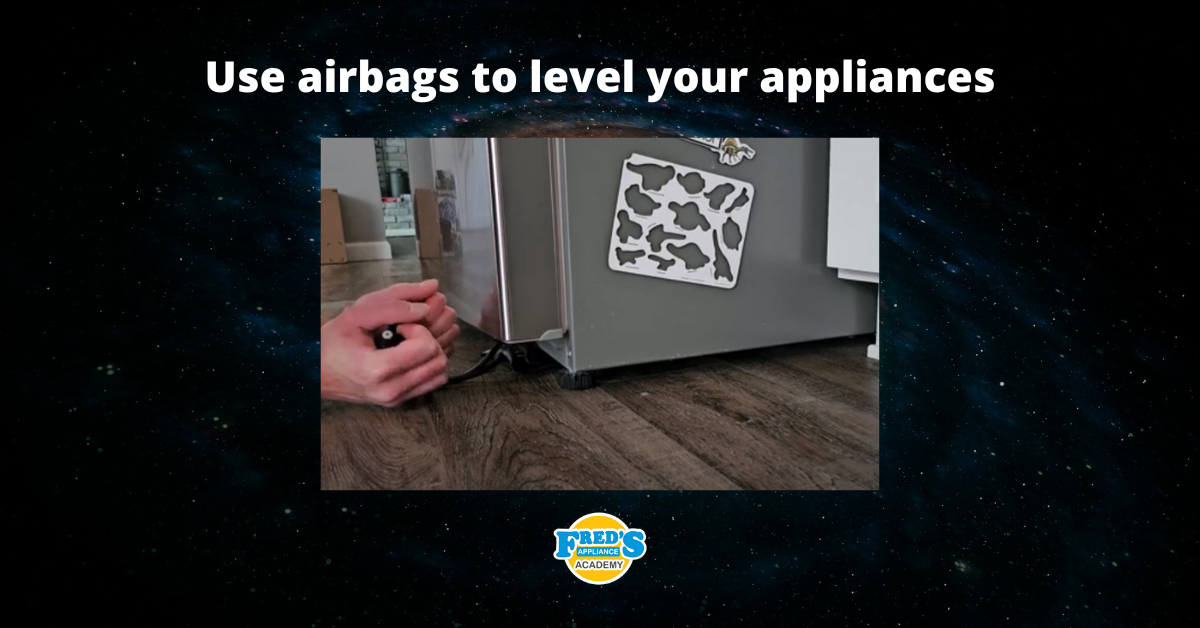
Clever ways to use airbags to level your appliances
Jan. 12, 2024