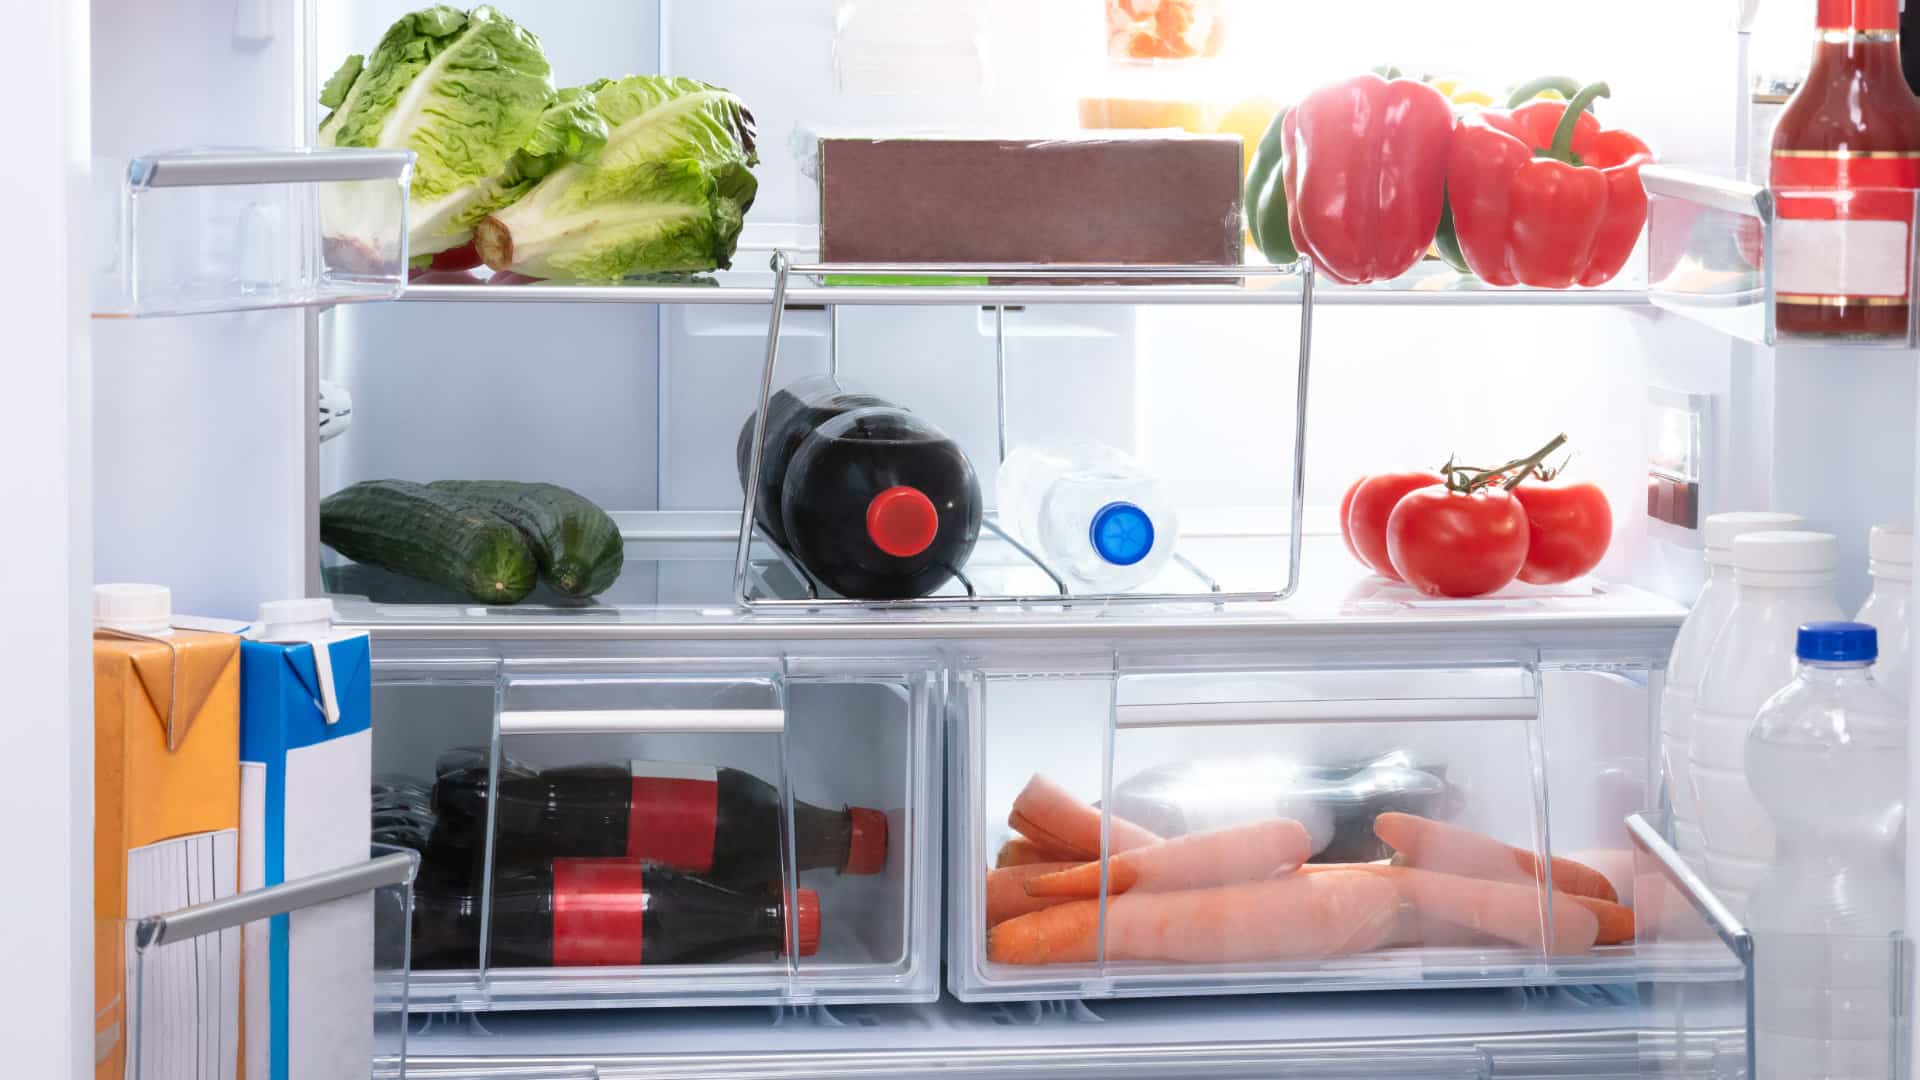
This guide covers repairs for most LG refrigerator models, such as:
- LG LFXS26596S
- LG LFXC22526S
- LG LFXS30796D
- LG LFXS28566SLG
- LMXS28596D
- LG LRFVS3006S
- LG LRMVS3006S
- LG LMXS28596S
- LG LRFVC2406S
- LG LRFVC2406D
- LG LRFXC2416S
- LG LRFXC2406S
- LG LRFDS3016S
- LG LRFDS3006S
- LG LSFXC2496D
Troubleshooting Your LG Refrigerator That Doesn’t Cool
It can be frustrating and stressful if you’re experiencing issues with your LG refrigerator not cooling. However, before calling a technician, there are a few troubleshooting steps you can take to potentially fix the problem yourself.
The first step is to check if the power is on and the refrigerator is plugged in properly. If that’s not the issue, check for obstructions and blockages in the vents and air ducts. Clearing any debris can improve airflow and help the refrigerator cool more efficiently. Testing the temperature control system is also important as it can be a common culprit for cooling issues.
Finally, assess the compressor, condenser coils, and evaporator fan motor. These components play a crucial role in the cooling process, and any malfunction can result in inadequate cooling. In this guide, we will cover exactly how to check these things and what to do if they need repairing.
1. Checking If the Power Is On
Before diving into more complex troubleshooting steps, it’s important first to check if your LG refrigerator is even receiving power. This might seem obvious, but it’s a common oversight that can save you a lot of time and frustration.
Start by checking if the refrigerator is plugged in and the outlet is functioning properly. If the outlet is working, check the circuit breaker to make sure it hasn’t tripped. If the power is on, move on to the next step, checking for obstructions and blockages.
2. Checking and Clearing Obstructions and Blockages
Another important step in troubleshooting your LG refrigerator that doesn’t cool is to check for obstructions and blockages. Over time, dust, debris, and even food particles can accumulate in the vents and air ducts, causing a blockage that prevents proper airflow. This can result in a refrigerator that doesn’t cool properly.
To check for obstructions and blockages, start by unplugging the refrigerator and removing any visible debris from the vents and air ducts. Next, use a flashlight to inspect the inside of the refrigerator for any signs of blockages. If you find a blockage, use a soft-bristled brush or vacuum to remove it.
Once you’ve cleared any obstructions, plug the refrigerator back in and check if it’s cooling properly. If this does not solve the problem, then checking the temperature control system is the next best step to take.
3. Testing and Replacing the Temperature Control System
After checking for power and obstructions, the next step in troubleshooting your LG refrigerator that isn’t cooling is to test the temperature control system. This system regulates the temperature inside the fridge and ensures that it stays at the desired level.
To test it, set the temperature control to the coldest setting and wait for a few hours. If the temperature doesn’t drop, the control system may be faulty and need replacing. Another way to test the temperature control is to use a multimeter to check the continuity of the thermostat. If it’s not working properly, then it won’t be able to regulate the temperature. If you find this is the case, it is time to replace the system.
Fortunately, replacing an LG temperature control system is a relatively simple process that can be done in just a few steps:
- Start by unplugging your refrigerator from its power source. This will ensure that there are no electrical hazards while you work on replacing the temperature control unit.
- Locate the old unit within your fridge – this may require removing some panels or covers depending on how accessible it is. Once found, take note of any wires or connections attached so they can be reconnected later when installing a new one.
- Carefully insert new replacement parts into place, ensuring all necessary screws and bolts are tightened properly. Before reconnecting any wiring harnesses back onto their respective terminals, ensure proper polarity orientation has been observed throughout the process.
4. Assessing and Replacing the Compressor
When assessing the compressor in your LG refrigerator, there are a few things to keep in mind. First, make sure the power is off, and the refrigerator is unplugged before beginning any work. Then, inspect the compressor for any signs of damage or wear. If the compressor appears damaged, it may need to be replaced.
Replacing a Broken Compressor:
- Locate where the old compressor was installed on the backside of the unit by looking at its label, which should indicate the exact location (usually near the bottom).
- Disconnect wires leading into/out of the old component carefully using pliers if needed; then unscrew bolts holding down the mounting bracket until the entire assembly lifts up freely away from the frame below.
- After removing the old part completely, thoroughly clean the area around where the previous one sat, including nearby tubing connections and wiring harnesses. This will help ensure no debris or dirt gets mixed in when installing the fresh replacement later on.
- Finally, install the new component by reversing the steps above. Make sure not to skip any important details along the way. This includes properly tightening the screws/bolts while being careful not to over-tighten, causing damage to other system components.
5. Checking the Condenser Coils and Evaporator Fan Motor
Next, check the condenser coils for any dirt or debris that could be blocking airflow. If the condenser coils appear dirty, use a damp cloth to wipe them clean.
Finally, test the evaporator fan motor to ensure it is functioning properly. To do this, locate the evaporator fan cover, usually found in the freezer compartment, and remove any screws or clips holding it in place. Next, remove the cover to look at the fan blade and motor. Check for any visible signs of damage or obstruction on both components.
Next, turn on your refrigerator and listen for noise coming from the evaporator area – this will indicate whether or not it’s running smoothly. If it is making unusual noises, this may suggest it is not working correctly and causing your refrigerator to not cool properly. If the fan or any of these components are not working correctly, they could cause your refrigerator to not cool properly.

Appliance Industry 2024 Q1 Results

Congrats to our graduating April 2024 class
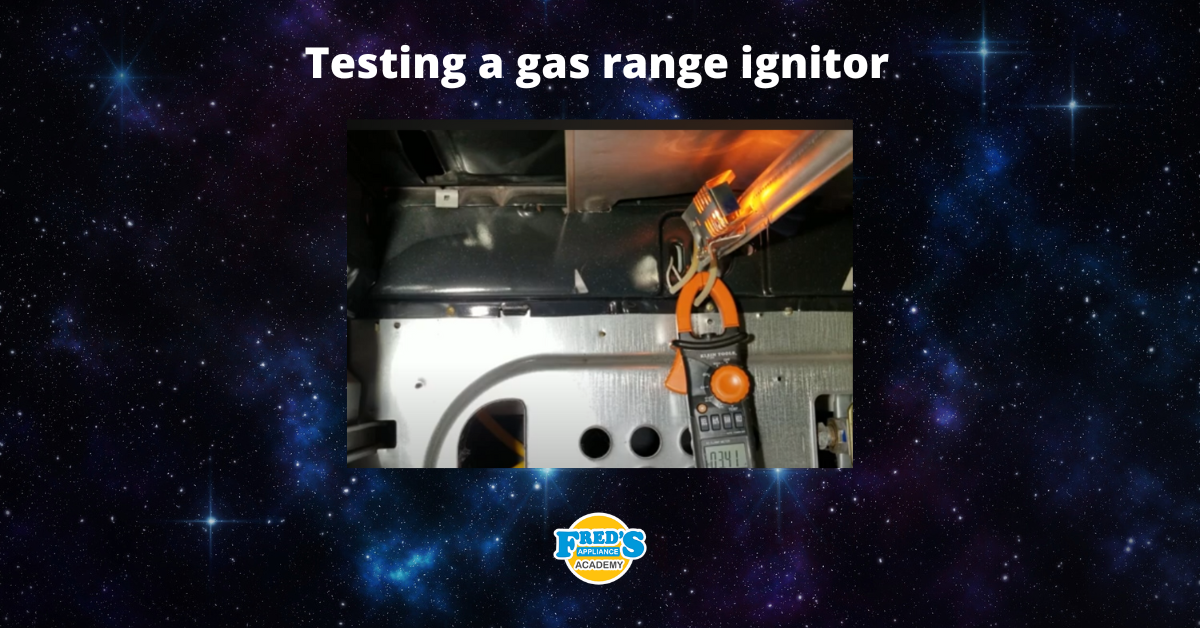
How to test a gas range ignitor

Congrats to our graduating March 2024 class
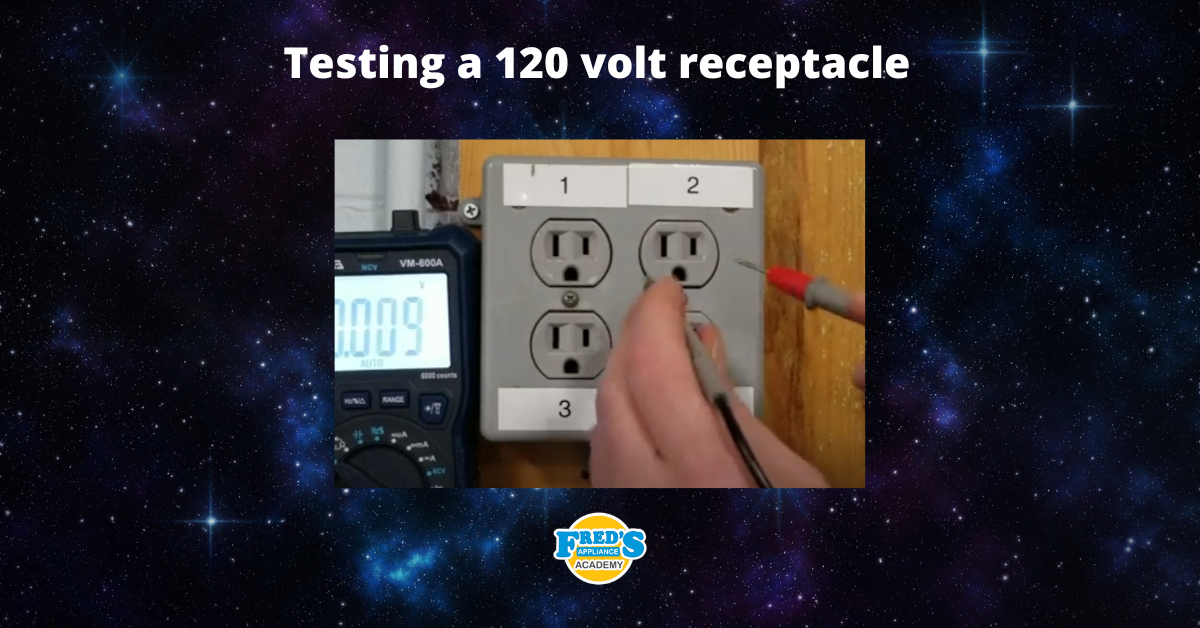
How to test a 120 volt receptacle

Congrats to our graduating February 2024 class
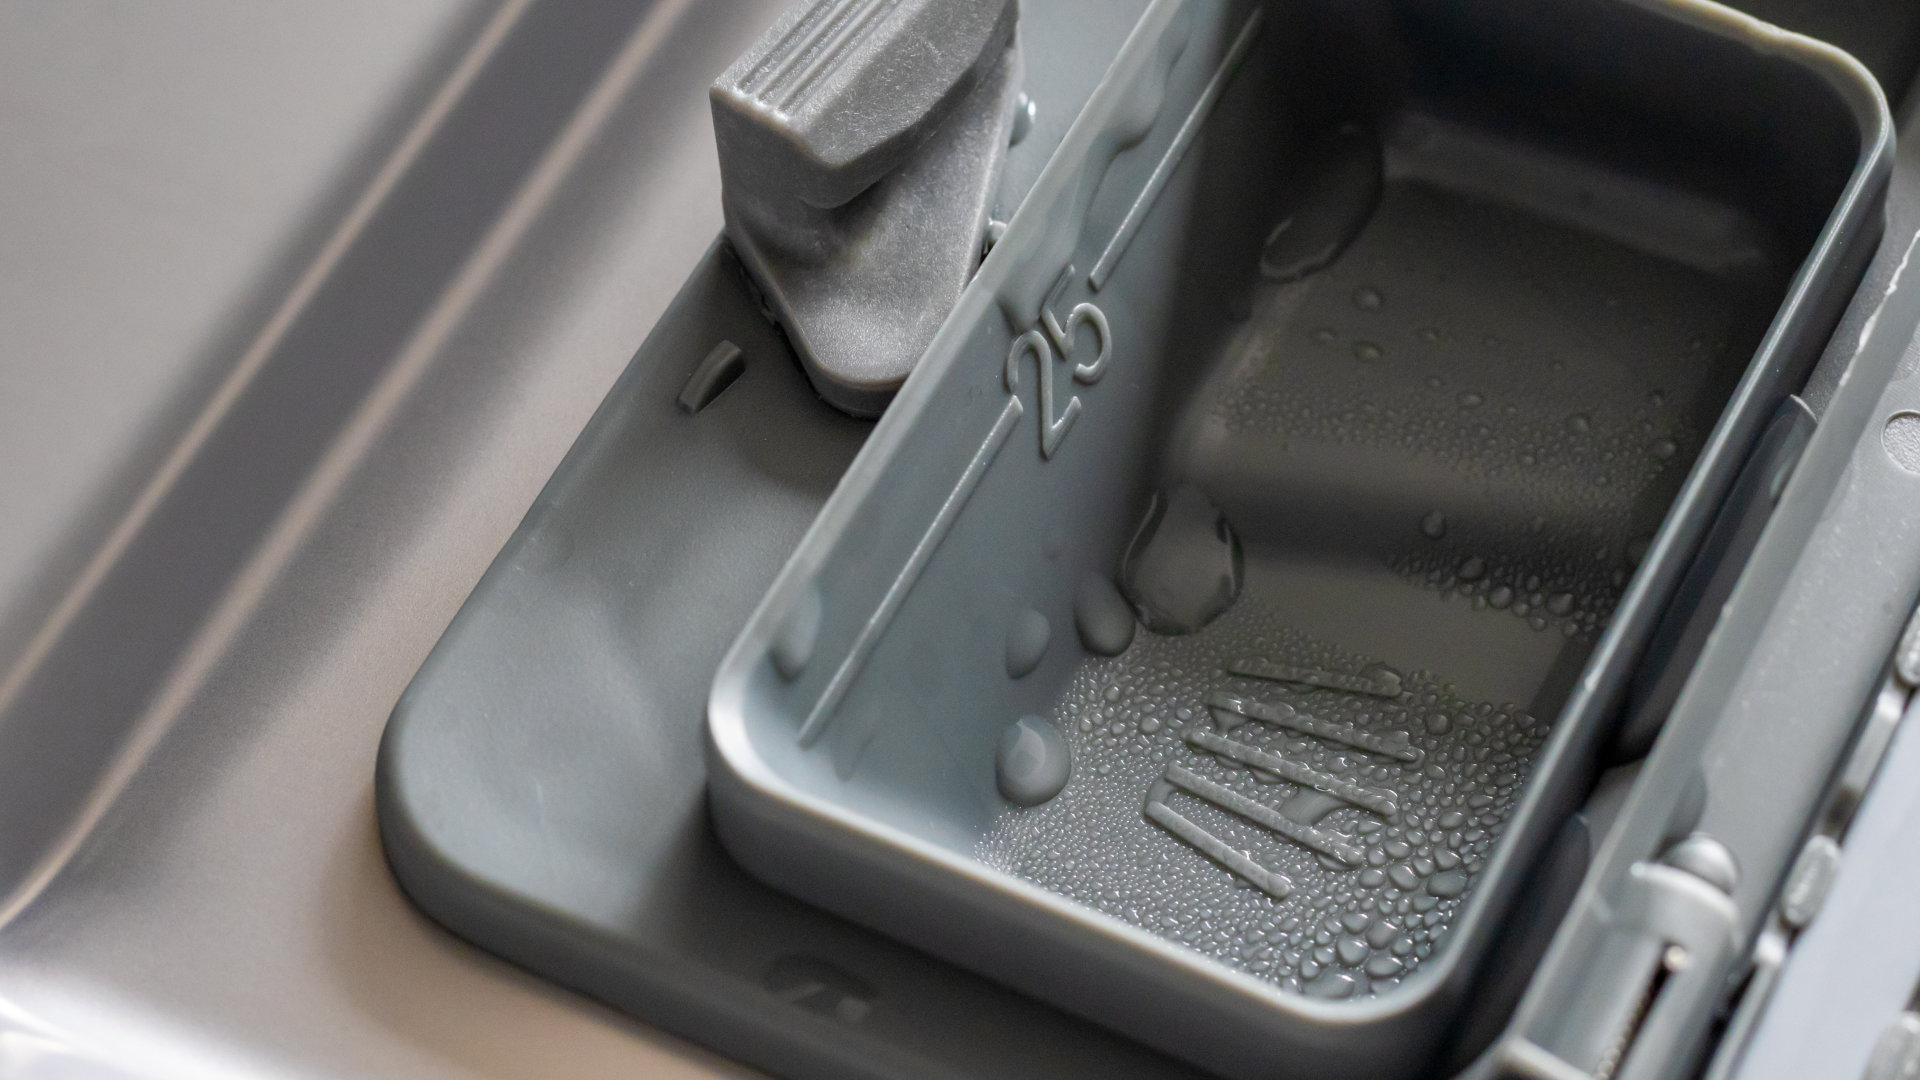
Why Is Your Dishwasher Soap Not Dissolving? (5 Easy Fixes)
Refrigerator Dripping Water Inside? 5 Quick Fixes

Appliance Industry 2023 Q4 Results


