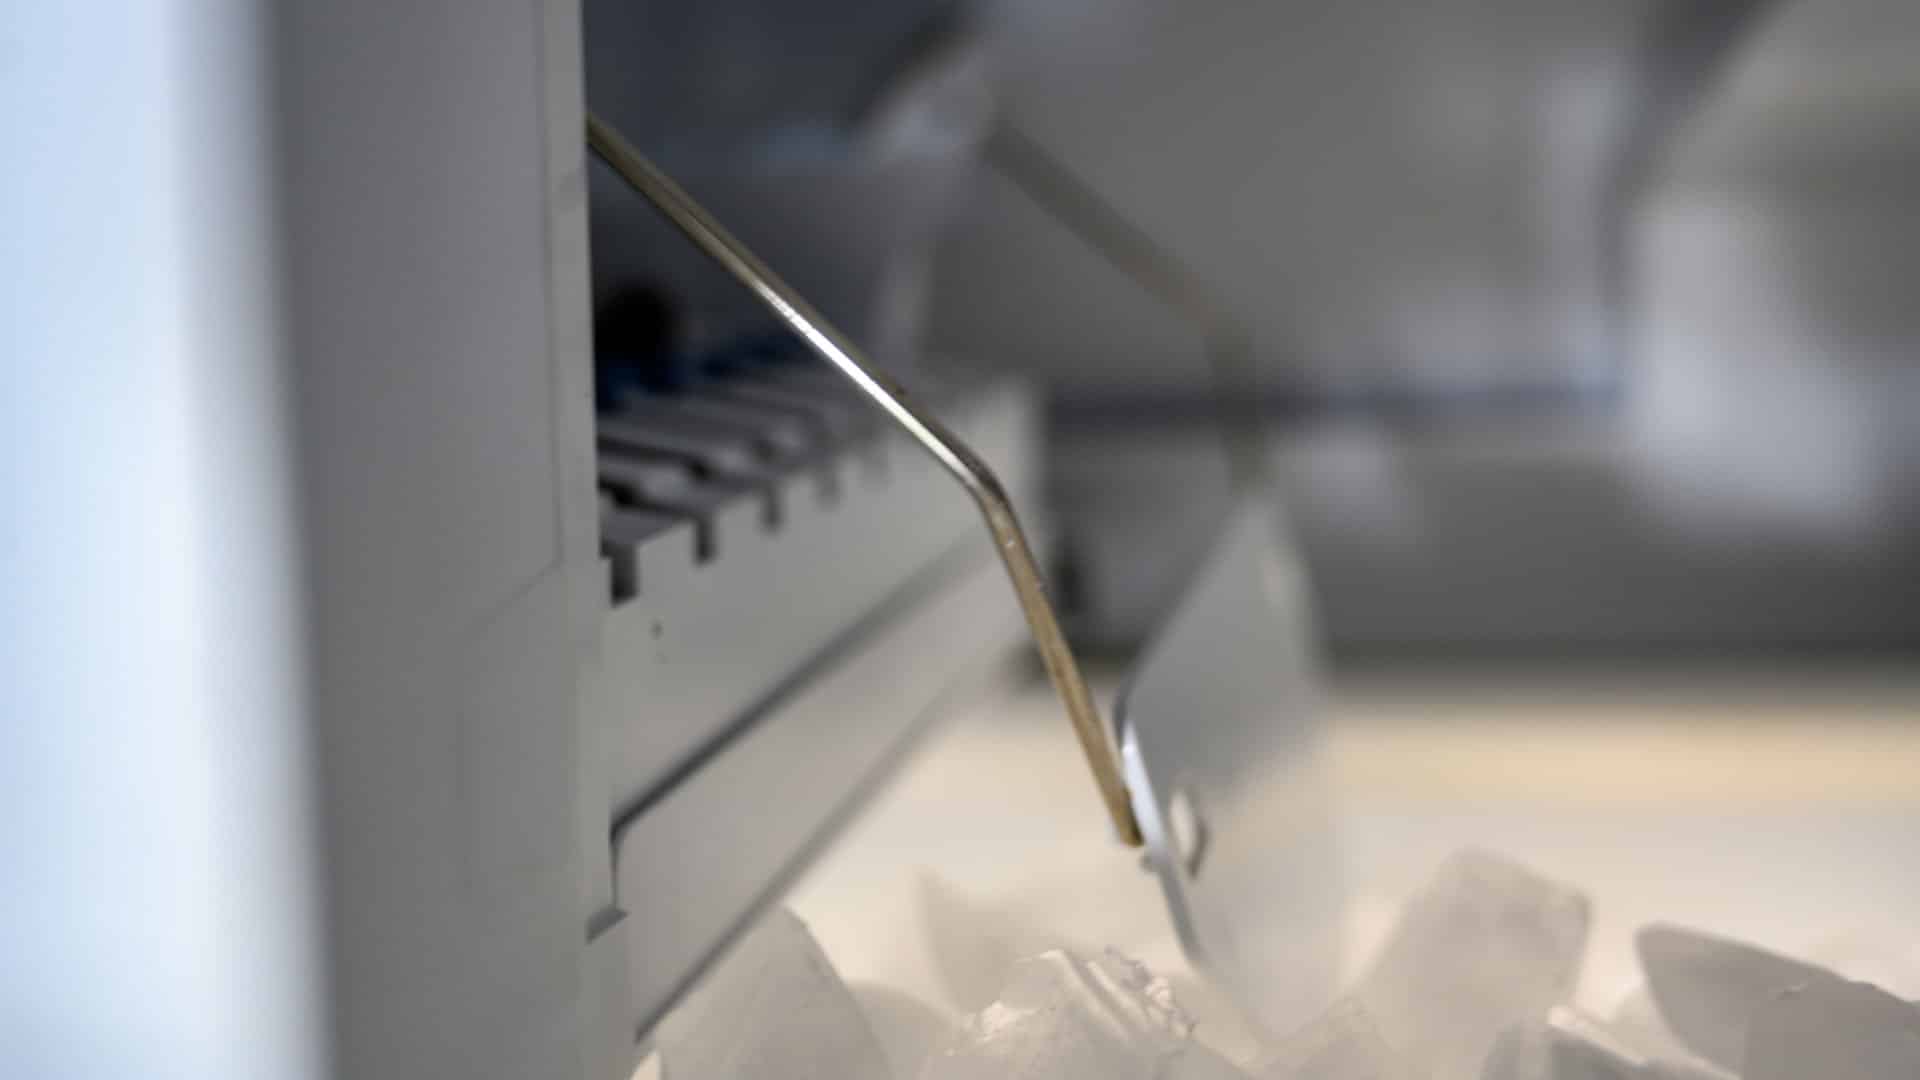
One of the best parts about a Whirlpool refrigerator has to be the ice maker. Everyone who has one quickly gets used to having easy access to large quantities of ice – and without having to fill up the trays yourself! So if your ice maker stops working, it’s natural to be dismayed!
Don’t panic and call in a repair technician just yet, however! In a lot of cases, a simple reset is all that’s needed to get your Whirlpool icemaker up and running once again. We’ll walk you through the reset process step by step and offer some alternative solutions if the reset doesn’t fix your problem.
This guide applies to all the main models of Whirlpool refrigerators, including:
- 1ET25DKXGW00
- 2-A Y
- 3EAD19XMWR1
- 3ECKMF10
- 3ECKMF8
- 3ECKMF86
- ED5FVGXWS07
- WRB322DMBM00
- WRF535SMBM00
- WRF560SEHZ00
- WRF560SEYM05
- WRF736SDAM11
- WRF736SDAM12
- WRF736SDAM13
- WRF736SDAM14
- WRS322FDAM04
- WRS325FDAM02
- WRS325FDAM04
- WRS571CIDM01
- WRS571CIHZ01
- WRX735SDBM00
Press the Reset Button
It might sound obvious, but the first step to take is to press the reset button! Most Whirlpool refrigerators have a reset button on the ice maker, and pressing it will cause the ice maker to reset and return to working as normal.
To reset:
- First, locate the reset button. This will be located at the bottom of the ice maker unit in most models, but in some, it is at the bottom of the ice tray itself.
- Press the button down until you hear a beep sound. It will require a few seconds of holding it down before it beeps.
- Your refrigerator ice maker is now reset! Wait a couple of hours to ensure it is back working as normal. If not, try another reset, or look into whether there are other issues.
Check the Feeler Arm
If you reset your ice maker, but the issue isn’t fixed, you might need to reset the feeler arm itself. This sensor feels how much ice is in your ice maker unit. It senses when the tray is full and stops making ice. However, if it is stuck in the wrong place, it might be incorrectly sensing that the ice tray is full when it isn’t. Here’s how to reset the feeler arm back to the proper position:
- Locate the feeler arm in the ice maker, using your Whirlpool manual as a guide if necessary.
- Jiggle the feeler arm to loosen it
- Once it’s loosened, water should start flowing into the ice maker again, and your ice supply will be back on!
Cut Power to Your Fridge
If you’ve tried resetting the ice maker and unsticking the feeler arm, the next step to try is to unplug your refrigerator for a hard reset.
Unplug your refrigerator and leave it unplugged for a couple of minutes. Then plug it back in and check the feeler arm again. If it has worked, your ice tray will now start filling up with water.
Look into Other Causes
There might be other underlying causes that are causing trouble with your Whirlpool ice maker. These include:
The Freezer Temperature Is Too High
The ice maker can only work if the temperature is set correctly. If the freezer temperature is set higher than 0-5 degrees Fahrenheit, the ice maker may be unable to run its cycle. Check the freezer temperature – you can check it with an external thermometer if you think there might be something wrong with the thermostat.
The Water Filter Is Clogged
In Whirlpool refrigerators, cold water runs from the water filter to the ice maker. If there’s an issue with the water filter, water won’t be able to reach the ice maker at all. Most models recommend changing the water filter every six months, but this is pretty easy to forget! If your ice maker isn’t working and you’ve tried the usual fixes, try replacing it:
- Make sure you have a new filter ready to go. You can order one online directly from Whirlpool or a third-party website.
- First, locate the filter. They’re usually found in the upper right-hand corner of the refrigerator in most models.
- Turn off the switch to the ice maker.
- Remove the old filter by turning it counterclockwise.
- Install the new filter into its housing and rotate it clockwise until it slots into place.
- Run water through the dispenser to flush out any debris.
- Turn the ice maker back on and see if this has fixed your problem.
The Water Line Is Frozen
Similar to a clogged water filter, a frozen water line can impede the flow of water to your ice maker, causing the ice maker to fail. To check this issue:
- Check if the line is actually frozen. If you disconnect the water line and try to blow through it, you can discover if it’s blocked. If you can blow air through it easily, a frozen line is unlikely to be to blame.
- If frozen, use a hair dryer on a low setting to warm the line. If you can tell where the frozen part is, direct the warm air at that section. If not, you’ll need to heat the whole line. Ensure you don’t overheat any section of the line, as this could melt the plastic.
- Once it has thawed, your ice tray will start filling up once again. To prevent future freezing, ensure your fridge and freezer temperatures are not set too low. You can also try wrapping insulating tape around the water line.

Appliance Industry 2024 Q1 Results

Congrats to our graduating April 2024 class
How to test a gas range ignitor

Congrats to our graduating March 2024 class
How to test a 120 volt receptacle

Congrats to our graduating February 2024 class
Why Is Your Dishwasher Soap Not Dissolving? (5 Easy Fixes)
Refrigerator Dripping Water Inside? 5 Quick Fixes

Appliance Industry 2023 Q4 Results


