
Using an AllDolly to remove a stacked dryer. To begin this process, you're going to need to remove any mounting brackets on the dryer that are going to prevent it from sliding straight forward. Here we're working on an LG and there's only one small bracket in the front that's going to need to be removed. These mounting kits will vary between manufacturers and the installation manual will likely guide you if needed.
With the front bracket removed, we're now going to go ahead and wheel the AllDolly in front of the washer and dryer. There are all different types of AllDollies out there and this particular one can be adjusted by loosening or tightening the black handles and raising or lowering the arms. This AllDolly here will lower to the ground to about three inches and will raise to a maximum height of about three feet, two inches. With everything secured, we're going to go ahead and grab the dryer and slide it forward onto the Dolly. And just like that, the washer and dryer have been separated and both are ready for service as needed.
Here I'll show a little flexibility in the AllDolly is that I have no problem whatsoever manipulating the dryer into any position that I desire. After service has been completed, go ahead and place the dryer back in front of the washer. To get the dryer back on top of the washer without damage, I do need to lean the dryer forward slowly. So do be careful during this process. If necessary, it's always best to be safe than sorry so get an extra set of hands to help you if needed. Going behind the unit, I pull it back to ensure that the rear feet seat with the mounting brackets properly. This may not always be an option, and the process can easily be done through the front with an inspection mirror to see that the rear feet are seated. With the dryer back on top, re-install the mounting bracket to secure it in place.
If you're curious about how exactly this mounting kit works, please watch our video on installing an LG dryer stacking kit. The process is relatively simple and the video should be able to guide you through it without any complications. Once the repair is completed, be sure that all venting and plumbing are reinstalled before operating the machines.

Appliance Industry 2024 Q1 Results

Congrats to our graduating April 2024 class
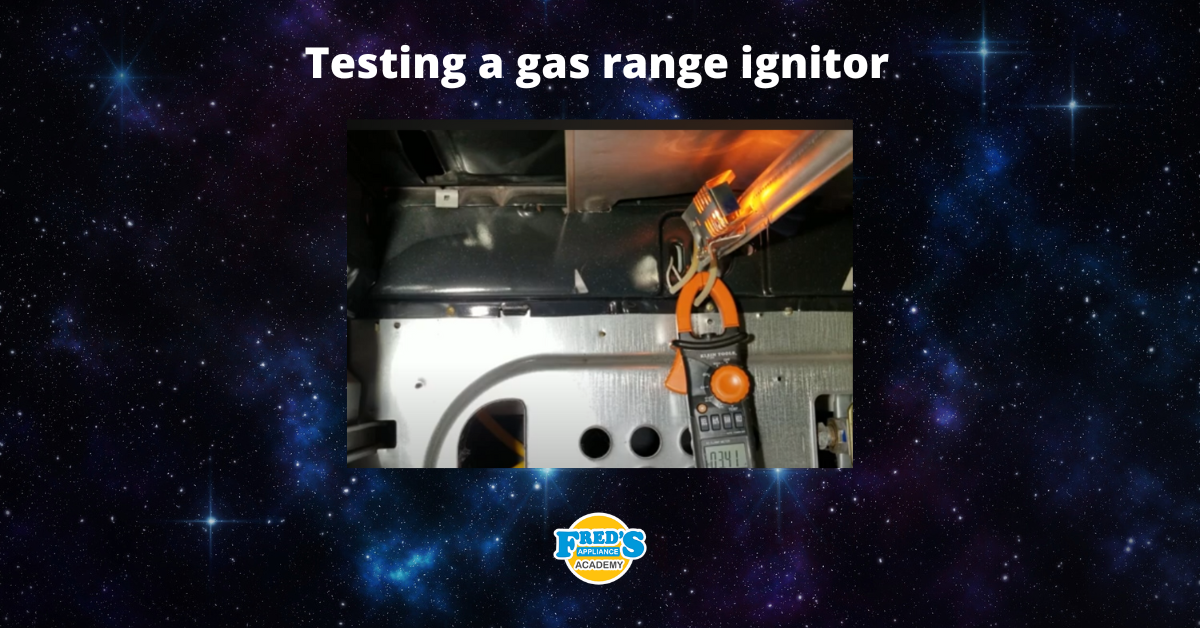
How to test a gas range ignitor

Congrats to our graduating March 2024 class
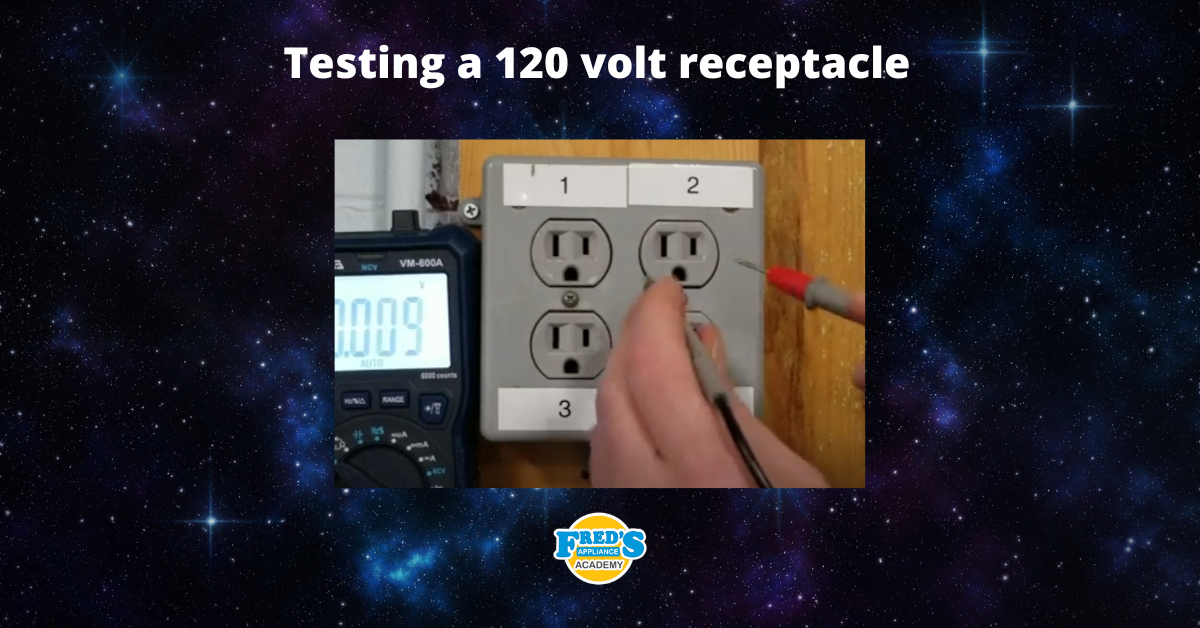
How to test a 120 volt receptacle

Congrats to our graduating February 2024 class
Why Is Your Dishwasher Soap Not Dissolving? (5 Easy Fixes)
Refrigerator Dripping Water Inside? 5 Quick Fixes

Appliance Industry 2023 Q4 Results


