


Fred's Appliance Academy
September 1, 2021
Washer Training
If your LG washing machine is displaying the OE error code, you’re in the right place.
We will discuss the main reasons why this happens and then tell you how you can fix them.
But let’s start by briefly explaining what the OE code means.
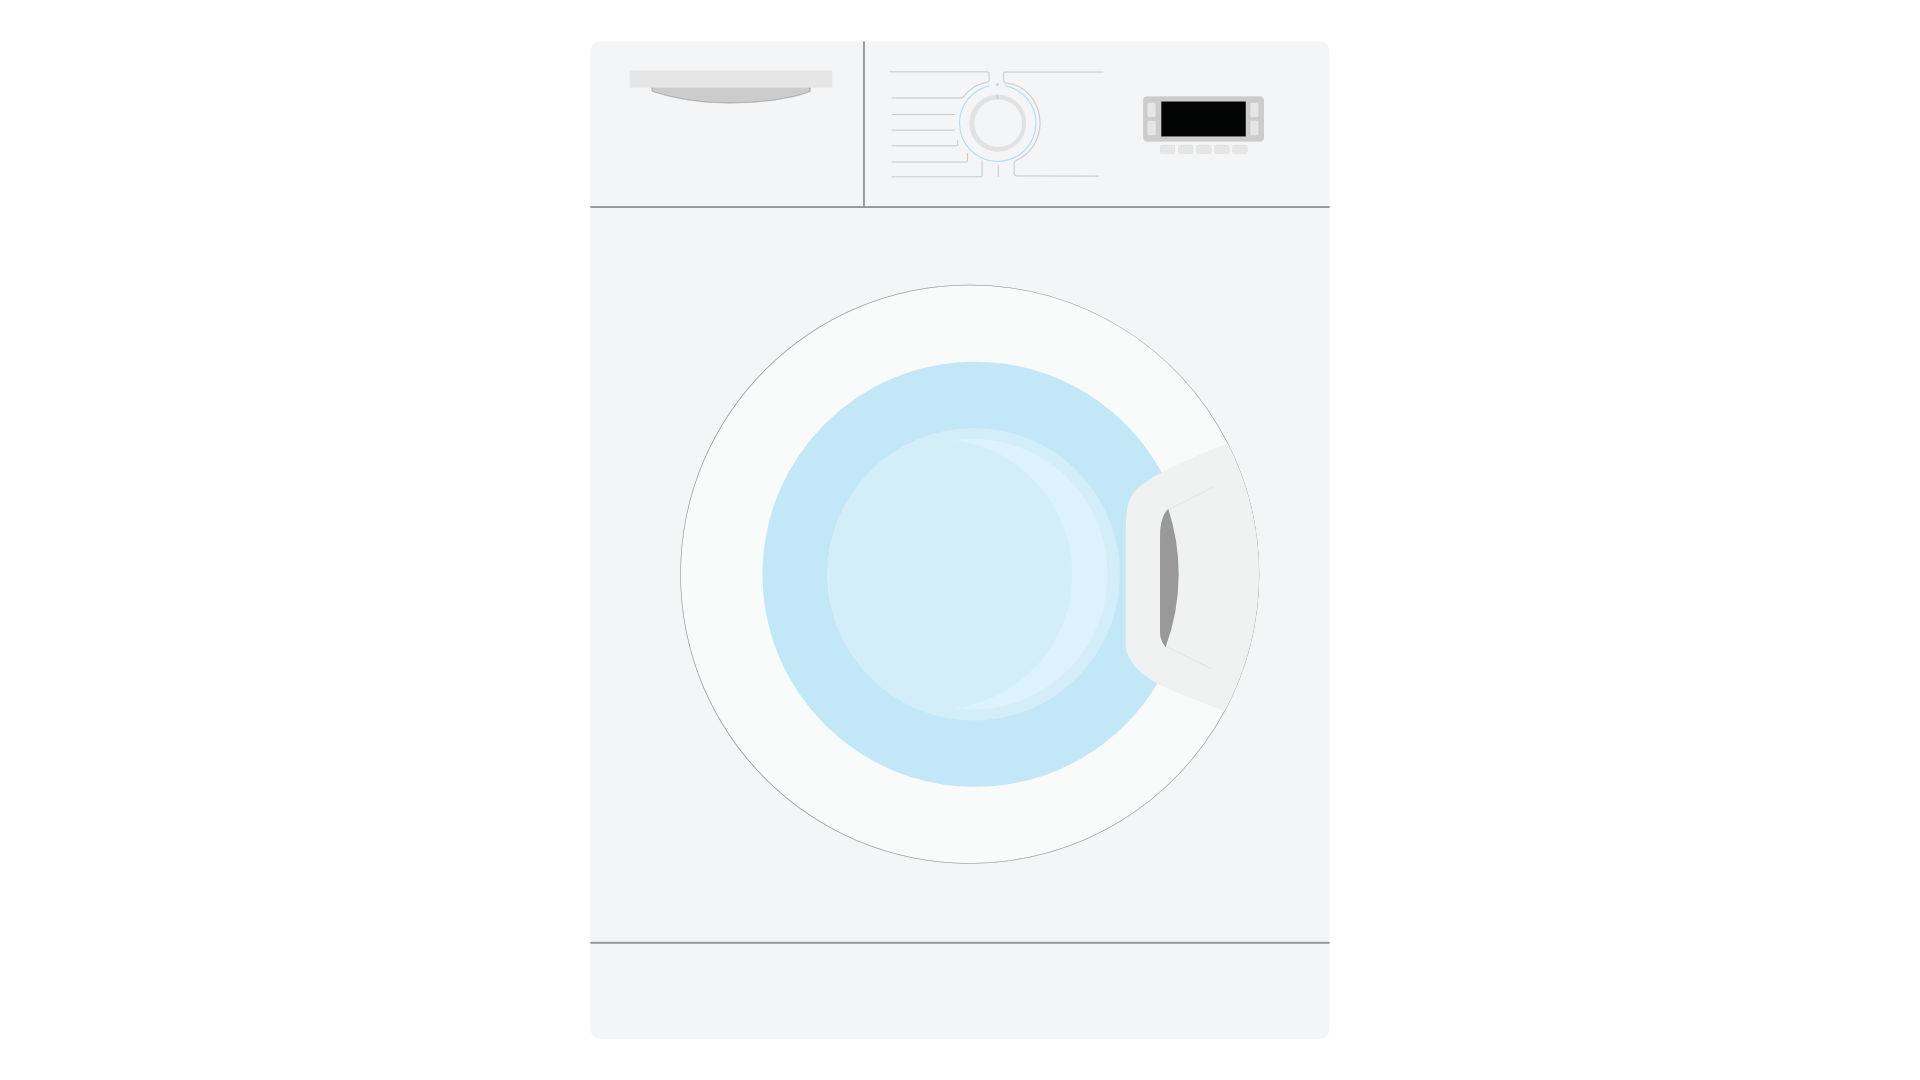
When you see the OE code on your LG washing machine, it means that your washing machine is not able to drain properly during or at the end of a cycle. When the error code appears, you won’t be able to use your washing machine until you fix the root cause of the problem.
This guide covers all major models of LG washing machines, including:
RLM20K
WD-10271BD
WD-11275BD
WD-13276BDM
WD-90282BD
WM2233HW
WM2277HS
WM2301HR
WM2301HW
WM2455HG
WM2455HW
WM2455HW/00
WM2487HRMA/00
WM2487HWMA/00
WM2496HSM
WM2496HWM/00
WM2688HNM
WM2688HWMA/00
WM3070HWA
WM3470HVA
WM3470HWA
The Drain Hose
The drain hose is how water drains out of your LG washing machine. If it becomes defective, your washer might stop draining, and the OE error code might appear.
Here’s how to check the drain hose:
- Find the drain hose (it’s at the back of your washing machine). You might have to pull your washing machine out from the wall to access it.
- Give it a thorough check to see if there are any kinks or crimps in it that might be causing it not to work correctly.
- If the hose is ok, you can move on to the next step. If the hose is damaged in any way, try to repair it, and if that doesn’t work, it will need to be replaced.
- Once repaired or replaced, turn your washing machine on and see if the problem has been solved. If not, move on to the next step.
The Drain Pump Filter
The next step is to check the drain pump filter. The filter helps collect loose debris in your washing machine, so if it becomes blocked, your washer might not be able to drain correctly.
To check the drain pump filter, you need to:
- Turn the power to the washing machine off if you haven’t already.
- Locate the drain pump filter—it’s usually at the bottom of the washer.
- Take the cover off the drain pump filter.
- Unplug the hose that is connected to it, and then unhook and remove the small plug from the drain hose. Be careful not to let any water spill onto the floor.
- Once the water has fully drained, you can twist the pump filter counterclockwise, and it will be able to be removed from the washing machine.
- Once removed, give the filter and the drain pump housing area a good clean with hot soapy water.
- After cleaning the parts, you can put them back into the washing machine in the same order as you took them out.
- You can then turn your washing machine on and check if the problem has been solved. If not, move on to the next step.
The Drain Pump
The next step is to check the drain pump. The purpose of the drain pump is to help water drain out of your washer after and during a cycle. If it stops working, the OE error code might appear on your LG washing machine.
To check the drain pump, you first need to check if it is defective or not. To do that:
- Turn your washing machine on. Then set the “spin speed” to “high.”
- Press the “start/pause” button to start a cycle.
- When it is operating, listen to see if you can hear a humming sound coming from the washer. If you can hear a humming sound when the washer goes into drain mode, this means the drain pump is working. However, if you can’t hear the pump working, it will need to be tested.
To test the drain pump, you need to:
- Turn the power off to the washing machine.
- Take off the top of the washing machine. You will need to remove the screws that hold it in place at the back of the washing machine and in some models the soap drawer as well.
- On the left-hand side of the washing machine at the bottom, you will find a small door. Open the door, find the drain hose, and remove it. Be careful that no water drips onto the floor.
- Take the screw out that is inside the door, and you should then be able to pull the cover for the drain cleanout off.
- Unthread the single screw at the bottom of the washing machine unit so you can remove the front panel.
- You can now open the washing machine door and use a screwdriver to take the band clamp off that holds the door in place.
- Pull the boot away from the front panel, and push it into the washing machine tub.
- You can now disconnect the wire harness that is located on the bottom of the door lock assembly.
- Close the washing machine door, and then unthread the remaining screws that hold the front panel and door in place and then remove both parts.
- You should now be able to access the drain pump motor and remove the hoses that are connected to it.
- Unthread any screws holding the pump motor in place, and then remove the wire harness that is connected to it. You can now completely remove the old motor.
- Take the new motor out of the packaging, and start by connecting the wire harness back up to it.
- Secure the drain pump in place with the screws you took out before.
- You can now go through the steps you undertook to remove the old drain pump motor in reverse to put your washing machine back together.
- Once your washing machine is back together again, turn it on and check if the problem has been solved. Hopefully, at this point, the OE error code has been removed!
Join the industry's best trainers.

(800) 781-1814Text or ring! ring!
Live ChatClick to say hi

Apr. 05, 2024
How to test a gas range ignitor

Mar. 29, 2024
Congrats to our graduating March 2024 class

Mar. 22, 2024
How to test a 120 volt receptacle

Mar. 01, 2024
Congrats to our graduating February 2024 class

Feb. 05, 2024
Why Is Your Dishwasher Soap Not Dissolving? (5 Easy Fixes)

Feb. 05, 2024
Refrigerator Dripping Water Inside? 5 Quick Fixes
Feb. 02, 2024
Appliance Industry 2023 Q4 Results

Feb. 02, 2024
Congrats to our graduating January 2024 class
Jan. 26, 2024
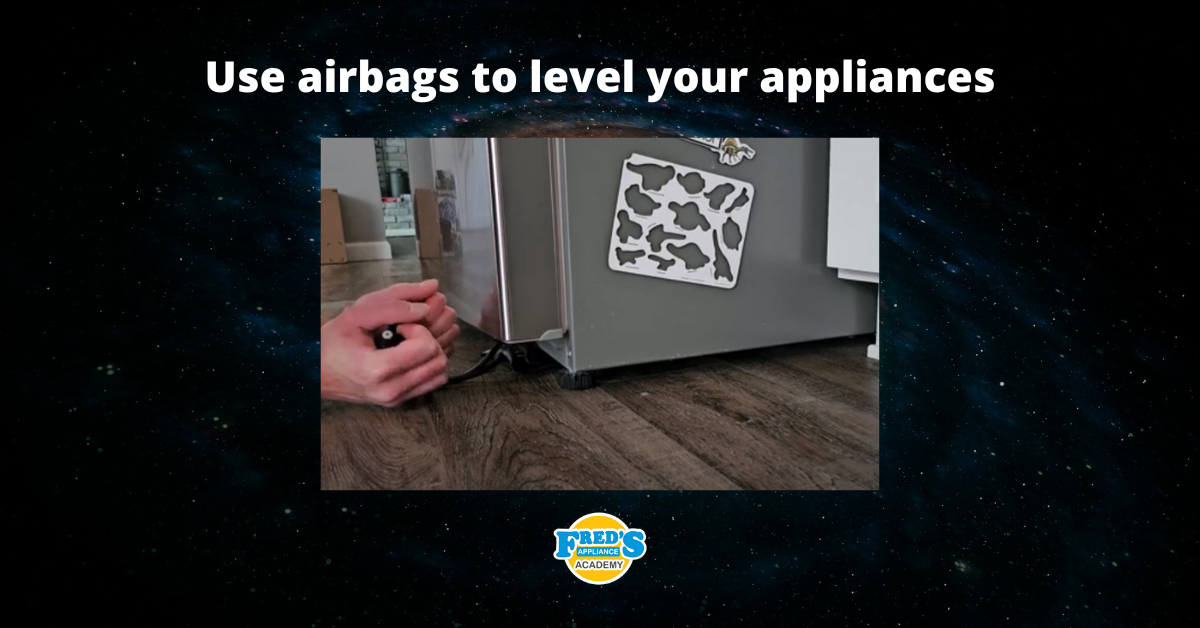
Clever ways to use airbags to level your appliances
Jan. 12, 2024