


Fred's Appliance Academy
November 20, 2019
Video
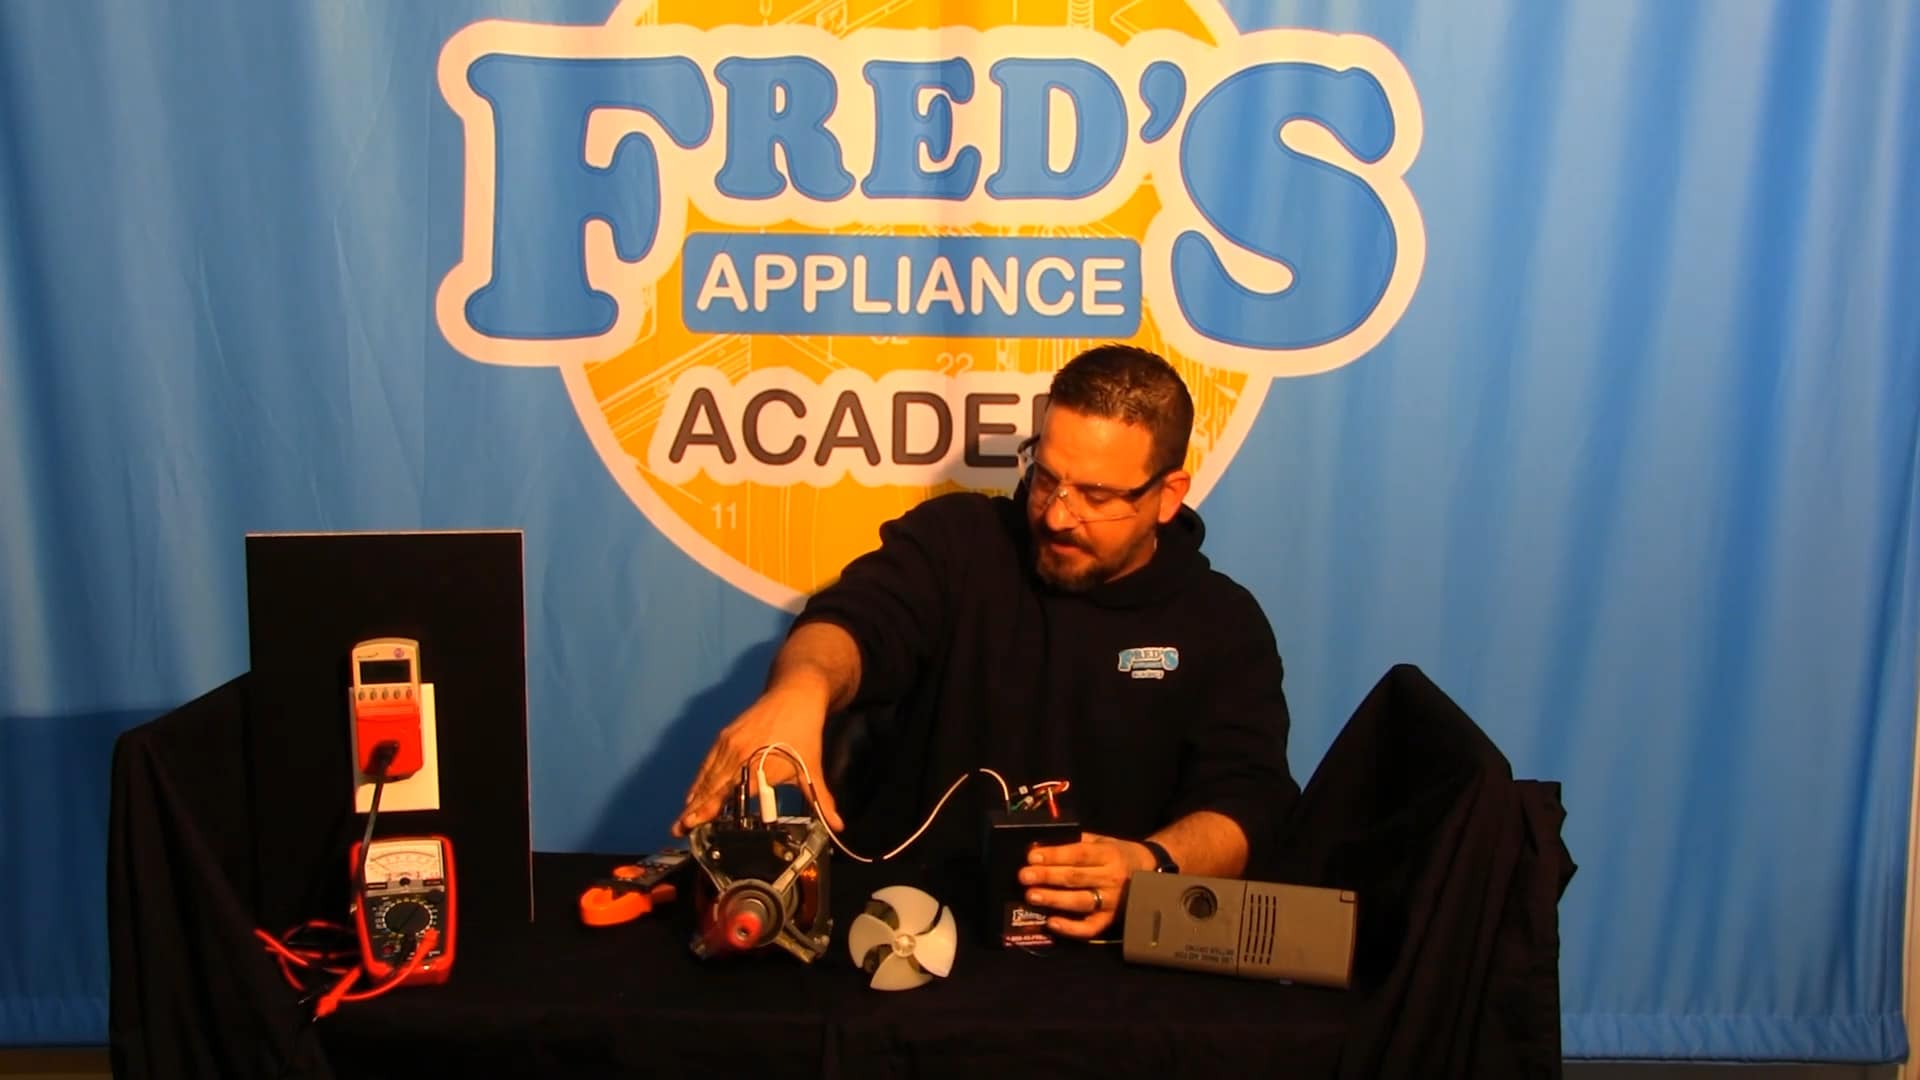
Tim: 00:11 Hey guys, Tim, with Fred’s Appliance Academy, here with another video for you. This video is actually a part two to a previous video that we did before, and that video was about a split phase compressor, using our split phase compressor tester that we make here in-home. On this tester, what we’re going to focus on today is, using our auxiliary 120-volt tester. We have a couple of different components in front of us, being a split phase motor of a dryer, a shaded-pole motor out of a refrigerator, and a dispenser out of a dishwasher. Now, some of these components here are common failures, and what I want to do is, I want to show you how our tester works, how to hook it up, and how to see if these components are actually a failure.
Tim: 00:57 I know when I started doing this job way back when, we actually had test cords with alligator leads on them, where we had to wrap wire around, and plug it into an auxiliary outlet that was nearby, and that wasn’t the safest way of doing it. We have made this box to make sure that we can do this safely. So, why I have my safety glasses on, so nothing happens to my eyes if we should short something, which I hope that doesn’t happen here.
Tim: 01:23 So, what we’re going to do is, we’re going to get started. I’m going to go ahead and power up the split-phase motor, then we’re going to go ahead and power up the shaded-pole motor, and then our dispenser. So, with that said, there are a couple things that we have to do first. The one thing that we’d have to do, if you want to power up these motors, you’d have to isolate them. That means you have to pull the power source off of that, locate the context that you would hook up to, bench test them, pull them out of the unit itself.
Tim: 01:54 So, with the split-phase dryer motor, in order to get that started, we’re going to look for contacts four and five on our motor. In front, where the actual wire connector connects to, there are numbers there. It starts with one and two around the outside. Those are for heat, in a dryer. You’re, almost to the middle contacts will be four and five, so I have contact four, which is connected to this blue wire, which goes to an overload, and we have contact five over here. They may not all be in the same spot, but just look for four and five. What I’m going to do is, I’m going to go ahead and connect my line alligator clip to contact four, and my neutral to five.
Tim: 02:39 Now, in order to get this running, but we want to make sure we do a couple things. First, we want to make sure this motor is braced. We have a lot of torque that starts up this motor, so we don’t want it to get tangled in our wires, and we don’t want it to fall off the table, obviously, and fall on your foot, or damage a customer’s floor. There’s going to be a couple things we have to do with the box. One being, we have to turn the box on first. So, if we turn that switch on, nothing happens until we press this momentary switch. What I’m going to do is, I’m going to grab a hold of this motor here on the side, I’m not touching any of the electrical windings or anything like that, just grabbing an insulated side, and I’m going to press this momentary switch, and I hope this motor starts up, so you guys can see how this works. So, here we go. Let’s give that a shot, and see what happens.
Tim: 03:26 All right. So, we’ve got a good, working motor there. So, what we could actually do, if we want it to, you see how many amps this motor is pulling, release that there. All right, let that slow down and come to a stop. And, I have an amp clamp here. I told you, when we did the split phase compressor tester, we still have this wire wrapped around the front of the box, there. That’s for your amp clamp. And, we can see the amperage that this motor is actually pulling.
Tim: 03:51 So, we’re going to go ahead, hold this down again, and I’m going to hold that up, and so I can see the amperage. And, there we go. Right now, I’m pulling about five amps. It’s a little bit on the high side, for a split face motor. So, this could actually have a little bit of a bearing hanging up on it, but it shows you there that we can just check the amperage, and we can do that safely. So, what we want to do is, go ahead, turn the box off, if we were going to switch components, and the next thing I’m going to do is I’m going to put this motor off to the side. The box is off, there’s no power going to these windings. I’m going to disconnect my box from this, and then put this over here.
Tim: 04:32 And now, we have our shaded-pole. The shaded-pole motor… This hooks up with just regular 120 volts. It may have a Molex connector on there, they may have individual wires going to it, but you have a lot of room. This was nice, back when we were using a lot of these in the field, where they’re more electronic now, and they have some boards on them, that still may be 120-volt power sources. But, I like the way the spade terminals are. They’re far apart, so we’re not taking the chance of crossing these wires. So, what I’m going to do is, I’m going to go ahead and I’m going to hook my line in neutral up here, and be able to set this motor on a table. We should clear. All right, I’m going to go ahead and hold onto the motor. There’s not a lot of torque to these, but I don’t want it to fall off. So, we’re going to have to go ahead and turn the box on, and we’re going to turn the motor on.
Tim: 05:35 And, there you go. Our motor is running. So, this would be a great way to show a customer that it’s not the fan motor, even though that may be another service company was out, and said it was a fan motor, or they diagnosed it as a fan motor. We were actually able to hook up voltage to this, and see that it’s running just fine. So, we can go ahead and stop that, and turn our box off. So, that motor is actually good. So, good, we’re two for two on parts, here. Really never happens in this field, where you’re that good.
Tim: 06:14 All right. Third, our dishwasher dispenser. So, these are a very misdiagnosed component out there. One of the most diagnosed parts that are a failure in the field, that techs are going out and diagnosing as a problem, would be the control board. Control boards are not always the problem. A lot of it is, you could have a broken wire, you could have corroded contacts, or dirty contacts. It could just be customers’ electricity that’s causing the units and not want to have the dispenser open here. So, what we’re going to do is, we’re going to go ahead… I’m assuming that we’ve already gone through diagnostics, and we’ve seen that the dispenser doesn’t open, maybe. So, I want to make sure it’s not to dispenser, and that is actually the control, or that it might be a broken wire.
Tim: 07:14 So, we’re going to go ahead, and again, this one’s a little bit harder to do. The contacts are closer to each other, so I’m glad we’ve got these insulated alligator clips here. These are great. They really help us prevent from touching land in neutral together, which would be a little bit of a firework display. So, what we’re going to do is, we’re going to go ahead and turn the box on, and we’re going to flip the switch, and three, two, one, open. So, there we go. That’s hopefully right there. We might be looking at a control issue, or a broken wire. So, what I would start with first is, actually opening up the wire, making sure that we’ve got continuity from the dispenser, up to the control. If I’ve got continuity there, then I know for sure it’s got to be that control that’s causing the dispenser to not open. I’m going to go ahead and get that order for the customer.
Tim: 08:07 But, that is our 120-volt auxiliary tester. They’re very simple to use. Again, it’s a two in one tool. It saves you time in the field. It makes you more accurate. In the previous video, I told you that you’re going to need to have some kind of split phase compressor tester. Because of the different types of relays that are out there, especially with the electronic relay where you can’t test it, how are you going to test that compressor? How are you going to start it up without a tester? Yes, I know other manufacturers do make testers, but do they actually make a two in one? I haven’t really researched that enough to say yes or no, but I do know that we make one, and we make a great product here, and we thoroughly make sure that we test these, and that they work accurately.
Tim: 08:58 So, I hope that you guys found that this video was helpful. I hope, if you’re watching this, you’ve purchased one of our tools, and you’re wanting to learn how to hook these things up. So, please, if you found this helpful, like, subscribe, and keep following us. We have a couple of great videos that’ll be coming out soon, how to pull a vacuum out of a refrigerator, how to charge a refrigerator, and how to properly reclaim a refrigerator. So, again, I hope you guys liked this. We were able to power up three components here, which is kind of a relief when you sit there and scratch your head, and you’re trying to set this up, and you’re not sure if things are going to work, and things never work the way you want it to, in the field, but they worked out today. And again, I appreciate you guys for following us, liking, subscribing, and sharing these videos, and helping us get these out there. So, we’ll see you next time.
Join the industry's best trainers.

(800) 781-1814Text or ring! ring!
Live ChatClick to say hi

Apr. 05, 2024
How to test a gas range ignitor

Mar. 29, 2024
Congrats to our graduating March 2024 class

Mar. 22, 2024
How to test a 120 volt receptacle

Mar. 01, 2024
Congrats to our graduating February 2024 class

Feb. 05, 2024
Why Is Your Dishwasher Soap Not Dissolving? (5 Easy Fixes)

Feb. 05, 2024
Refrigerator Dripping Water Inside? 5 Quick Fixes

Feb. 02, 2024
Appliance Industry 2023 Q4 Results

Feb. 02, 2024
Congrats to our graduating January 2024 class
Jan. 26, 2024
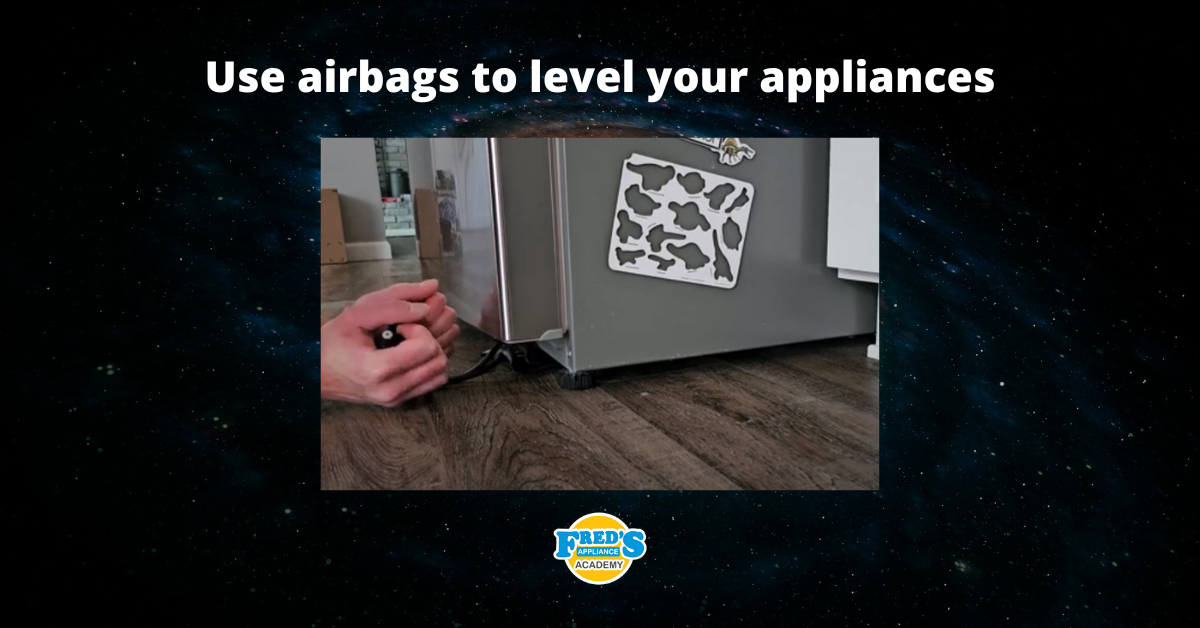
Clever ways to use airbags to level your appliances
Jan. 12, 2024