


Fred's Appliance Academy
December 30, 2019
Video
What’s going on everyone? Tim with Fred’s Appliance Academy here with another great video for you today. I’m here behind a Whirlpool electric range, and today what we’re going to learn about is the infinite switches and how they work. How to test them, how to be able to identify which switch is causing that God awful cooktop-on lights to stay on for the customer, they need you to get out there right away for that. Or is it the hot surface indicator that’s staying on? Which would indicate it’s more likely a burner that’s causing that, with a radiant, smooth glass top style. But our main focus is going to be on the infinite switches. They do work the same way as they would in a coil style top, which is your more affordable brand. Which will be that coil, Calrod, that you’ll have there or you’re going to have your radiant style, which is underneath the glass top.
So same infinite switches for them. They work the same way. Other than the difference is this guy here will still stay on and get red hot and not shut off. Although I know that some manufacturers have added a third wire, and there’s a sensor that’s in the middle of these that will prevent that. So keep that in mind, that the newer style models, they’re coming like that, and that’s going to be a normal thing for the customer. So you might just have to go out and educate them on that. And I know that they’re just going to tell you that their old one used to do, not do that. We all know that’s just very difficult for the customer to understand that things change over time. So your infinite switches, which are for the most part, pretty uniform nowadays when it comes to your newer style units. They no longer really have all the loose wiring that’s in there from when I first started. We didn’t even have cameras on our phones back then.
And it’s just so easy now for a younger technician or someone new to the field from a different job that doesn’t know much about appliances. They can go out there and you can replace an infinite switch, if someone went out and diagnosed it, just by snapping a picture of where the wiring goes, and that’s going to be the most important thing about an infinite switch, that you wire it back up correctly. You may just go out and replace one, turn that burner on and go, “Hey, it works.” That’s great. Up until after you leave, the customer goes to use more than one burner and you’re going to end up with a short. So how do we end up with a short with that? It would be because you have four types of infinite switches that are pretty common to the appliance world, which is your Robertshaw, your Corax, your White Rodgers, and then there’s an EGO switch.
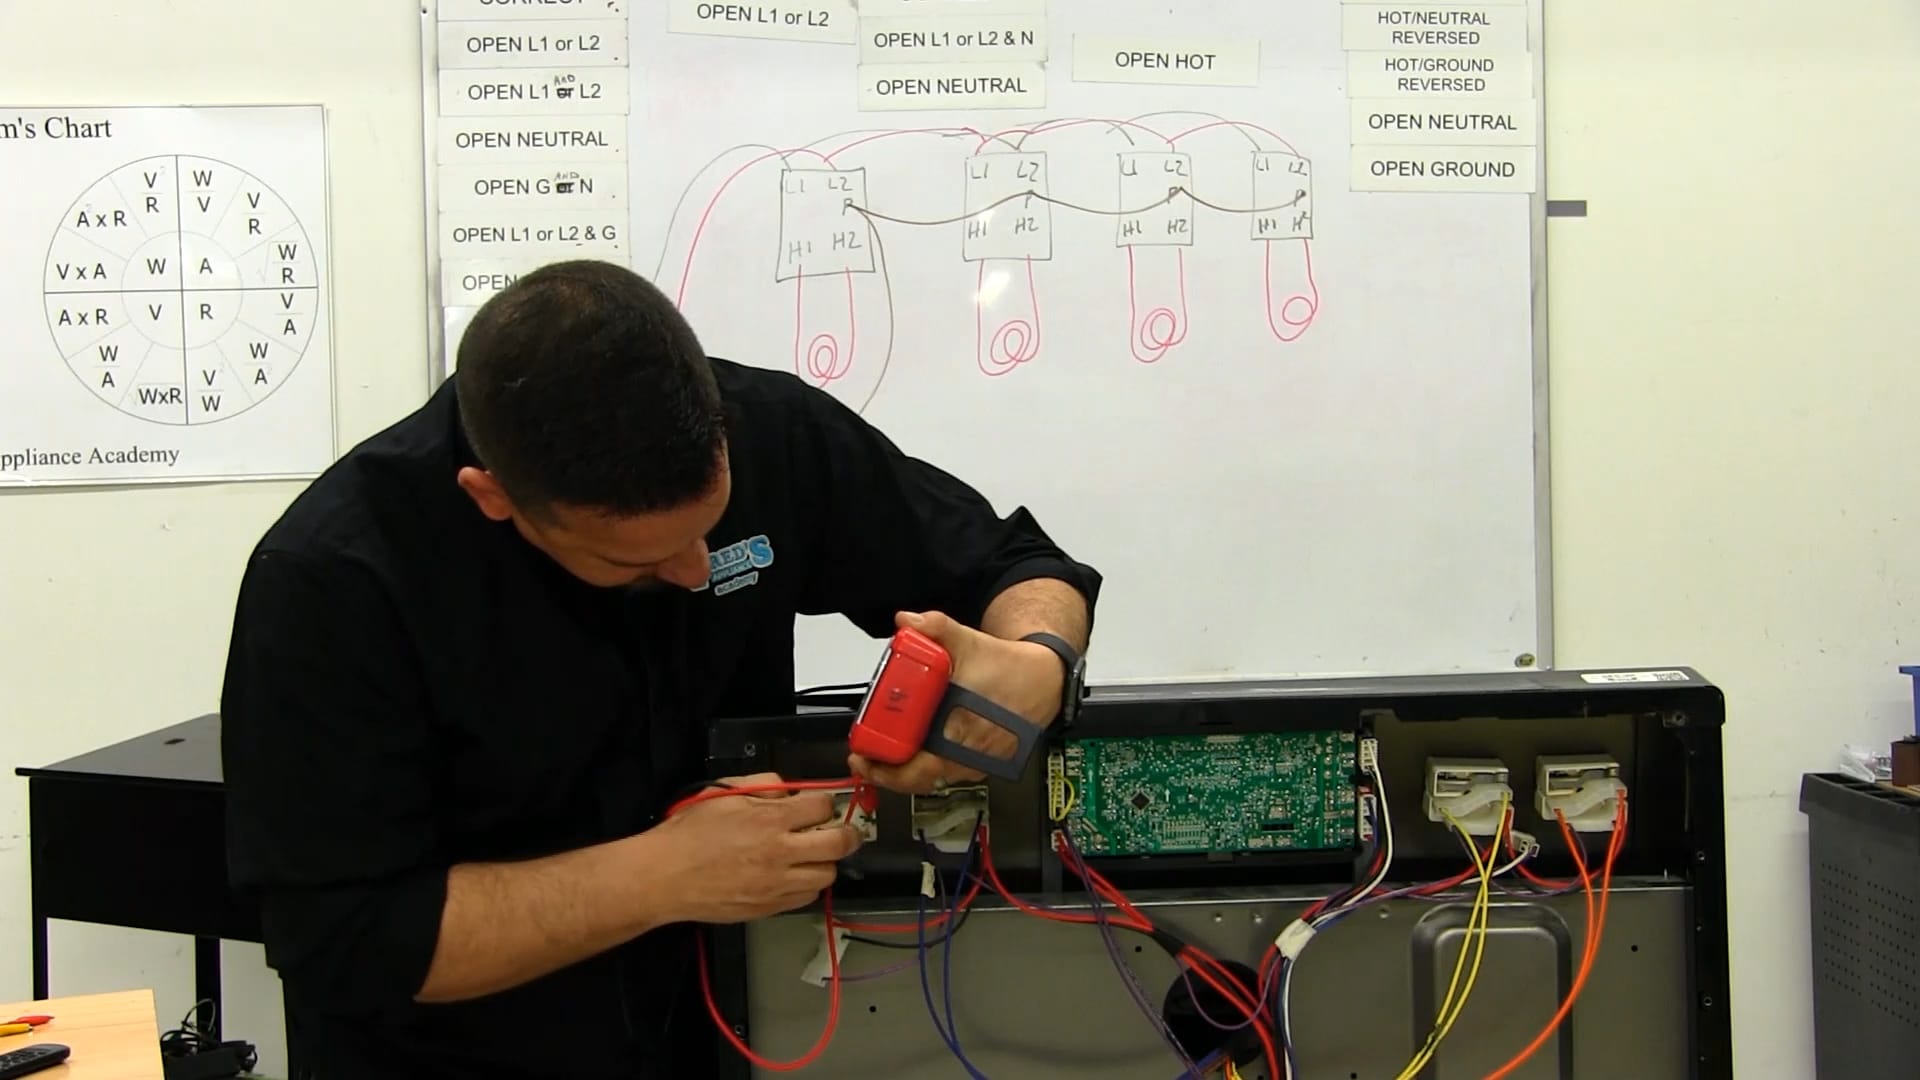
The first three they all have, and are identified with the context of L1, H1, L2, H2, MP. P for pilot or cooktop-on light. Where the EGO switch is a completely different switch. It’s got a 4B and a 1A. It’s a completely different style that come with some instructions, and some of the instructions they’re just very hard to read. And if you call into Tech Line, you’re on the phone with them, and they’re reading the same thing that you are. So you might be able to find a reference sheet online to help you out with that. So to give you an idea of what the infinite switches do and how they work, and what would happen if you did, for instance, cross an L1 with the L2, and you’d used more than one burner at a time doing so. I’m going to show you here on this whiteboard. I’ve got a couple switches there that are drawn out, and I know I’m not really an artist, but it gives you an idea.
So on our switches themselves, the H1 and H2 on each switch, those are in series with the burner. So we’re going to do a coil style burner here. So if we draw this out, making our burners. All right. So we have our H1 and H2’s which are in series with our burners. And how this works is we have to provide L1 and L2 to each burner, because those burners do require 240 volts. So L1 is going to come in from the terminal block and we’re going to connect every L1, daisy chain them all off of each other there. So that’s your L1s. Next you’ll have to bring your L2s in. And again that’s going to go to each L2 on the switches and those are going to daisy chain off.
And then third you have to have your neutral, we have to have a neutral at the switch. What the neutral does that provides the 120 volts between L1 and P to turn on that cooktop-on light on. So I’m going to bring my neutral then and that’s going to come up to each P. So, those all connect together. So, let’s just take, for instance, that we replaced a switch and it was with the EGO switch or maybe just from manufacturing, from where they got the switch from or so. They made an accident inside the switch while manufacturing. And you could end up with a shorted switch right off the bat, when you go to turn more than one burner on. What would happened is if we swapped, for instance, L2s… It should go right here. And then our L1, which would go right down to L2, and then back to L1. If we turn this burner on, we’ll work. We’ll be okay.
But if we go to turn this burner on, if this is the burner that we replaced and we start there, turn that one on first, we’re going to get that burner to turn on no problem. As soon as the customer goes ahead and turns on another burner, it doesn’t matter if it’s the first one or the last two, you’re taking L1 and L2 and you’re just pretty much crossing them together, creating a short. It’s going to trip the breaker. Customer may see sparks from the control panel. So you really want to make sure that you’re testing things out before you leave the home and that you’re very sure and accurate when wiring up these switches.
On your coil style burners, it’s going to be very easy to do so, and to check that and check your work before you leave the home, because what you can do again, like I said, these are uniform. You really can’t mess these up because of the fact that they make only one connection that’ll fit a certain way. You’re not pulling wires off and having to put them back on one by one, or taking a look at your picture to make sure that you’ve got everything lined up again. But if for some reason you do run into that situation, what you can simply do is everything’s all plugged back in, and I’ll show you what the plugs look like. So I have a three-wire plug and then I have a two wire plug. The two wire plug is my burner. So the brown ones here, that’s going down to my burners underneath the cooktop there.
And then I have my L1, my L2 and then my pilot on this connector there. So that’s all going to connect in one area. So right now if I go to check this switch, say for instance a customer’s complaint is my cooktop-on light will not shut off. Tedious repair, especially if there’s only one light for the entire thing. Even worse for a hot surface light because then you have to get up underneath the surface, and figure out which ones actually the failure. So by doing so what you’ll do is you’ll just take your meter. I like to use an analog meter, set it to R times one, and I’m looking for continuity between the switches. And what I’m going to do is I’m going to turn my unit on, whether it’s high, medium or low, it doesn’t matter. What I’m going to do is I’m going to check between L1 and H1, and I should get that tone. That’s continuity.
I should be able to check between L2 and H2, again that’s continuity right there. We have a good switch so far. But we need to check because maybe if they go to turn the burner on and the cooktop-on light doesn’t turn on, that could be a safety concern or an issue if a customer is not paying attention that that on lights not on, they try another burner and that comes on. They don’t realize it on the one that was actually on. They can end up burning themselves if it’s on low. So you want to check between L1 and P. And we’ve got continuity, which is good.
So you just replaced the switch. You replaced a Corax with a EGL switch, which is going to be a little bit of a different conversion of what you want to do. What you’re going to do is you’re going to set your meter because these elements glow, and the golden rule with glowing elements, anything that glows red except for igniters, is 10 to 50 ohms. And at room temperature. So what I’m going to do is I’m going to go ahead and set my meter on R times 10. And I’ve got alligator leads here, little alligator clips that I can go ahead and connect my meter lead to the cord. We’re going to go across L1 and L2 on the cord, so that way there when we test this, it’s going to work properly. That went on. Whatever you guys decide to do, I would say get some alligator leads that fit your meters. They’re going to come in handy. Sometimes in this job you feel like you need six hands in order to do something, and it doesn’t work that way.
So what we’re going to be looking for is I’m going to turn each switch on individually and right now, if I go to this one here, I’ve got about 50 ohms, which is my first switch. My second switch I dropped to about 20 ohms, which is good. My third switch, I’ve dropped just a little bit further below 20 ohms, so I’m right at about the 18 to 16 ohm range. And then my fourth switch, it takes me to about 15 ohms. So if we were to reach less than one ohm we have something shorted. One of our switches is shorted between L1 and L2. This only works on the coil style burners. It will not work on the radiant glass top burners, because the burners are not the same. They don’t read the same and they have a thermal limiter in there which will prevent the glass from breaking. That’s what that’s there for. That’s why those cycle. So if you have a customer that says, “Hey, when it’s on high, that burner turns on, it shuts off. I’m used to my older style where the burner would get red hot.” Yes it did, and like I had mentioned the newer styles on these, they’re not even doing that anymore.
But an infinite switch, the way that works is when you turn that switch on, there’s a set of contacts inside there that when working off a current draw, those set of contacts are going to warp. So when you have it set on, nine out of nine, on a radiant style glass top what’s going to happen is, that’s going to cycle on and cycle off. On our burner here we have what’s called the thermal limiter on the burner. And then we have a set of contacts that are normally open, and a set that is normally closed. The set that’s normally open is going to be the indicator light for the cooktop surface is hot. So this thermal limiter will warm up and when this warms up, this pushes a little plunger out and it connects those two contacts together. When it heats up more and more and more and more, so we’re on a setting of nine, the high, it’s going to push out even further, separating two contacts to shut the burner off. And that’s to protect the glass.
So if a customer says, “Hey, my cooktop is staying on high.” What could be happening is the actual current draw is not allowing the two contacts inside the infinite switch, between L2 and H2 to warp and open up. You could have a faulty switch. So you would need to check that, and make sure that you have less than one ohm when it’s in the on position. And then unplug it right away to see if you can find that infinite ohms, or less than one ohm, to see what’s going on with the burner. Other than that, the only other thing that’s going to be able to cause that would be the thermal limiter here, is not working properly. And the contacts are not opening up, they’re welded shut. So that’s in general how your infinite switch works. That is behind me. That’s exactly how you would see it drawn out.
You have your pilot light that is your neutral, that is your… It comes back through, so you do have 240 volts up at the switch and 120. They’re doing two things. When you check the switches, you need to check them in both the on and off position. You may check them on the on position, get less than one ohm between each contact and then go, “Okay, this switch is good.” But the customer’s complaint was that the cooktop-on lights not shutting off. So you’ve got to pull or check each L1 to P individually on its own to find out which one’s causing the issue.
This is a very easy job, but when you have something that’s a different switch and you’ve got to do some research out there, guys, make sure you’re trying to do research before you go out on the road for the next day. Maybe when you get home in the evening, I know it’s the last thing everyone wants to do when they get home from work, is work even more. But that, just in a nutshell, is just how to check an infinite switch. And just remember, you could get tripped up on that one switch. Again, that’s an EGO switch that’s going to be different than the other three, so it can happen to you. Make sure you’re checking those connections before you power up the unit.
Really appreciate you guys for joining us today with this video. Hope you found it helpful. Like, subscribe to our page and feel free, leave some comments, suggestions of some videos you’d like to see, to have done. We’re always interested in putting a… Seeing what you guys feel and putting the material out there that you’re asking for. That’s what we’re here to do, is we’re here to teach. Not only just to our students, but to our general public and our followers here. So again, it’s Tim with Fred’s Appliance Academy and we are here training tomorrow’s technicians today.
Join the industry's best trainers.

(800) 781-1814Text or ring! ring!
Live ChatClick to say hi

Apr. 05, 2024
How to test a gas range ignitor

Mar. 29, 2024
Congrats to our graduating March 2024 class

Mar. 22, 2024
How to test a 120 volt receptacle

Mar. 01, 2024
Congrats to our graduating February 2024 class

Feb. 05, 2024
Why Is Your Dishwasher Soap Not Dissolving? (5 Easy Fixes)

Feb. 05, 2024
Refrigerator Dripping Water Inside? 5 Quick Fixes
Feb. 02, 2024
Appliance Industry 2023 Q4 Results

Feb. 02, 2024
Congrats to our graduating January 2024 class
Jan. 26, 2024
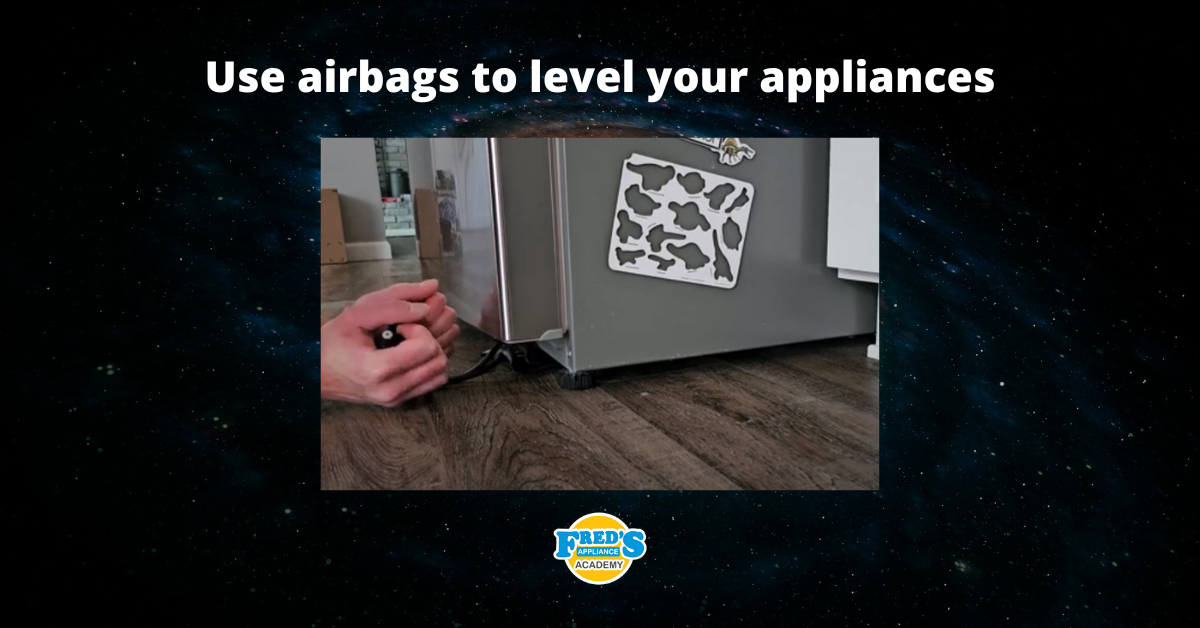
Clever ways to use airbags to level your appliances
Jan. 12, 2024