


Fred's Appliance Academy
March 19, 2020
Tools
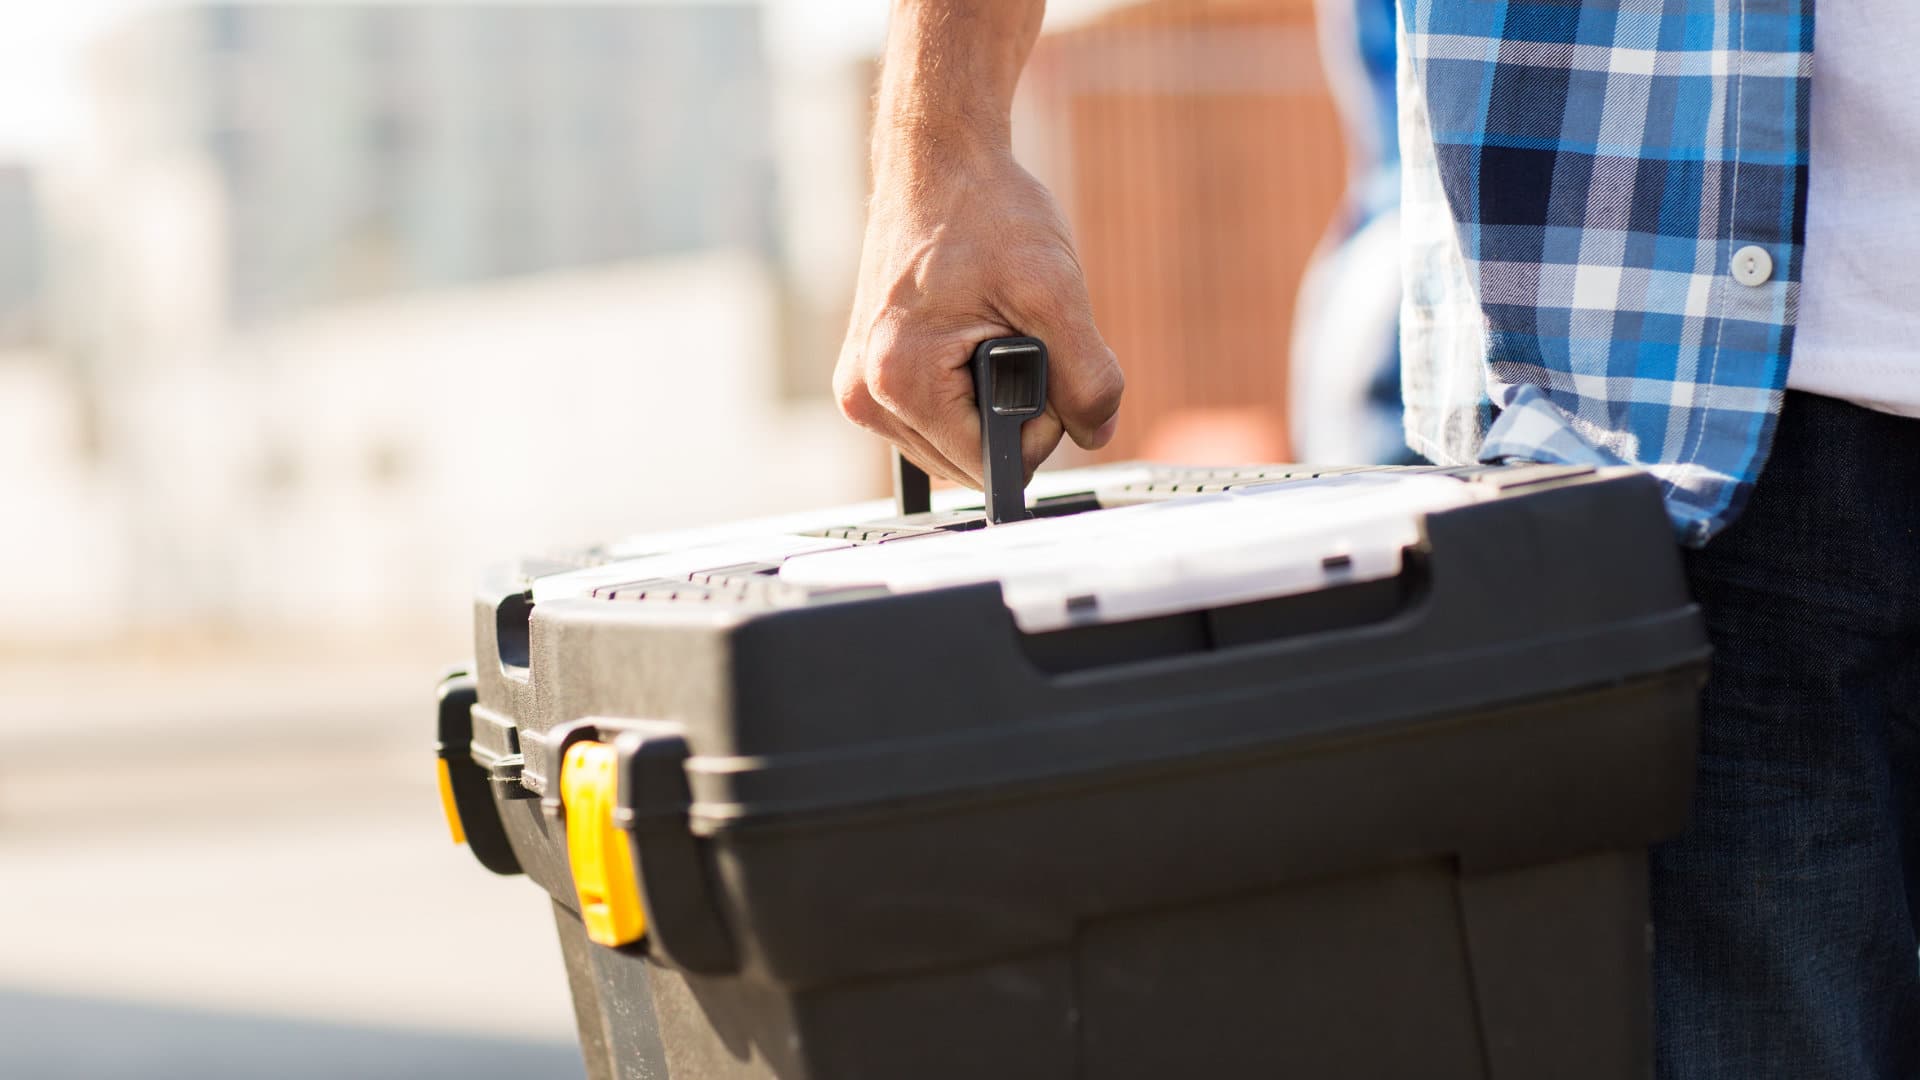
Here at Fred’s Appliance Academy, we can teach new technicians to build a complete toolbox that will serve you for most if not all appliance repairs in your service area. We can teach you to use the tools and how to pick the right tool for the job. But every technician builds their own on-the-job toolbox that becomes a central part of your workflow for each job you take.Your toolbox defines how quickly you can find the tools you need, the size you need, and how easy it is to put everything back where it can be quickly retrieved. The right toolbox design can as much as halve your repair service times while the wrong toolbox can have you rummaging throughout the work. Not only does your toolbox need to put your key tools at-hand, but it also needs to contain all the useful little gadgets that can speed up a tricky job.Today, we’re here to share a few handy technician tricks for building your professional toolbox.
1. Velcro or Snap Containers for Small Hardware
It’s always helpful to have a few spare screws, nuts, and other spare hardware when repairing appliances. You never know when a customer’s appliance might already be missing a few pieces of small, essential hardware that is easily replaced. But you also don’t want to be rummaging to the bottom of your toolbox or with spillable plastic boxes of screws. Instead, get yourself cloth pouches or clamshell cases to hold your small hardware. Then fasten them to the inner walls of your toolbox with velcro or fastened snaps. This makes it easy to pull out your small hardware containers and rummage through them, then return them without ever having to reach the bottom of your toolbag.
2. Magnetize Your Own Screwdrivers
Magnetic screwdrivers are undeniably useful A screwdriver that holds onto its own screw is a life-saver in appliance repair where a dropped screw can mean opening up the whole cabinet to retrieve it. But you don’t have to buy magnetized screwdrivers or mourn if your screwdrivers lose magnetism. You can magnetize a screwdriver at any timeThe trick is to have a large strong magnet in your kit or workshop. Rub the magnet down your screwdriver in the same direction with each stroke (forward, not back-and-forth) a few dozen times. Now the screwdriver is magnetized and will hold onto your screws.
3. Use Colored Tape to Size-Code Your Tool Sets
Many technicians learn to identify their most-used tool and socket sizes by sight. But when you need an unusual size or to quick-select a new size, no one likes squinting at the engraved label. Colored tape is much easier to see and can be picked at a glance without checking the label.Screwdrivers, wrenches, sockets, and anything else you carry in an array of sizes can be marked with colored tape to help you identify the order in each set. You can use a rainbow of colors, shades of one color per set, or even strips of tape to make tape stripe patterns on the shaft or handle.
4. Color-Code Sockets and Tool Slots
The other half of that trick is to use the same tape markings on your docking racks and tool slots. The racks, cases, and slots where you dock your tools need to stay organized so that you can grab the right tools at a touch or glance and put tools back exactly where they go. So keep your colored tape handy and mark the docking slots with the same pattern that you marked your tools. Not only will it be useful for you, but any buddies who might share or borrow your tools can learn, rely on, and stick to your system.
5. Pad the Corners of a Metal Toolbox
If your work toolbox is the classic metal variety, that is going to scratch floors. Metal toolboxes are nearly indestructable and some are downright historical. But they’re also dangerous to the wood, tile, linoleum, and polyurethane floors of your clients. Customers may be happy to have their washer fixed, but less thrilled about the toolbox scratches on the floor.Fortunately, the fix is easy. Grab the same squared-off furniture pads used on the feet of couches and the undersides of coffee tables. You can also choose the rubber pad variety which stops slipping instead of allowing for slipping. Pad the corner edges of your metal toolbox so that it sets softly on any floor and is incapable of leaving scratches. Be sure to replace these pads if they start to peel off.
6. Put It On Wheels
If your appliance repair toolbox is large and heavy, consider putting small wheels on the corners or mounting the toolbox on a wheeled tray. The wheeled tray both reinforces the bottom of your toolbox and gives it portability.Putting wheels on even one end of your toolbox makes it much more portable because you can lift one edge and easily drag it across the room or to the other side of an appliance. For technicians that sometimes have to climb around appliances or work in multiple locations in the home, adding wheels to a heavy toolbox can make it much easier to work with and move around during a complex job.
7. Accordion Toolbelt Box Design
Have too many tools piled into the same toolbox? If you can’t store all your tools vertically but you’re tired of digging through a pile of heavy tools in the center of the box, try an accordian. The same principle that makes toolbelts can be used to string your tools together in an accordion storage style. Essentially, create a long tool belt that folds up into the toolbox.This way, when you need to dig for a tool, you unroll the cloth that holds all tools laid out flat instead.
8. Stock Up on Small Shop Towels
A few clean shop towels can make a big difference in certain repairs. You never know when you’ll wind up dealing with a motor or belt covered in black lubricant. You never know if you’ll find a problem that’s mostly built-up gunk rather than malfunctioning components. Having shop towels on-hand allows you to keep your hands, tools, and workspace clean no matter what situations you find in client homes and businesses. Shop towels also guarantee that your tools are always put away clean.
9. Get Gloves that Fit
Work gloves are essential for appliance repair because there are so many sharp panels and components to protect your hands from. But not all work gloves are equally helpful to you. For appliance repair, you need dexterity which means gloves that fit close to the fingers without limiting your range of motion. You need gloves thick enough to protect you from cuts and minor shocks, but thin enough to feel your work.In other words, get gloves that fit. Try on work gloves until you find a pair that fit your hands snugly without restriction.
10. Have Pad Material for Vices, Wrenches, and Clamps
Finally, have a few foam, rubber, or cloth pads for your tools with teeth. Clamps and vices may need to be padded to apply force without damaging whatever is being compressed. Wrenches and pliers are often more effective when given extra grip from a little padding in the teeth. Having a small kit of pads can be very handy, especially for stubborn old appliance fixtures.—Here at Fred’s Appliance Academy, we’re proud to share more than just the facts of appliance repair. We specialize in passing on the expert knowledge gained by decades of appliance repair experience. Join us in the classroom and the Flats for our next appliance repair courses. Contact us today to learn more!
Join the industry's best trainers.

(800) 781-1814Text or ring! ring!
Live ChatClick to say hi

Apr. 05, 2024
How to test a gas range ignitor

Mar. 29, 2024
Congrats to our graduating March 2024 class

Mar. 22, 2024
How to test a 120 volt receptacle

Mar. 01, 2024
Congrats to our graduating February 2024 class

Feb. 05, 2024
Why Is Your Dishwasher Soap Not Dissolving? (5 Easy Fixes)

Feb. 05, 2024
Refrigerator Dripping Water Inside? 5 Quick Fixes

Feb. 02, 2024
Appliance Industry 2023 Q4 Results

Feb. 02, 2024
Congrats to our graduating January 2024 class
Jan. 26, 2024
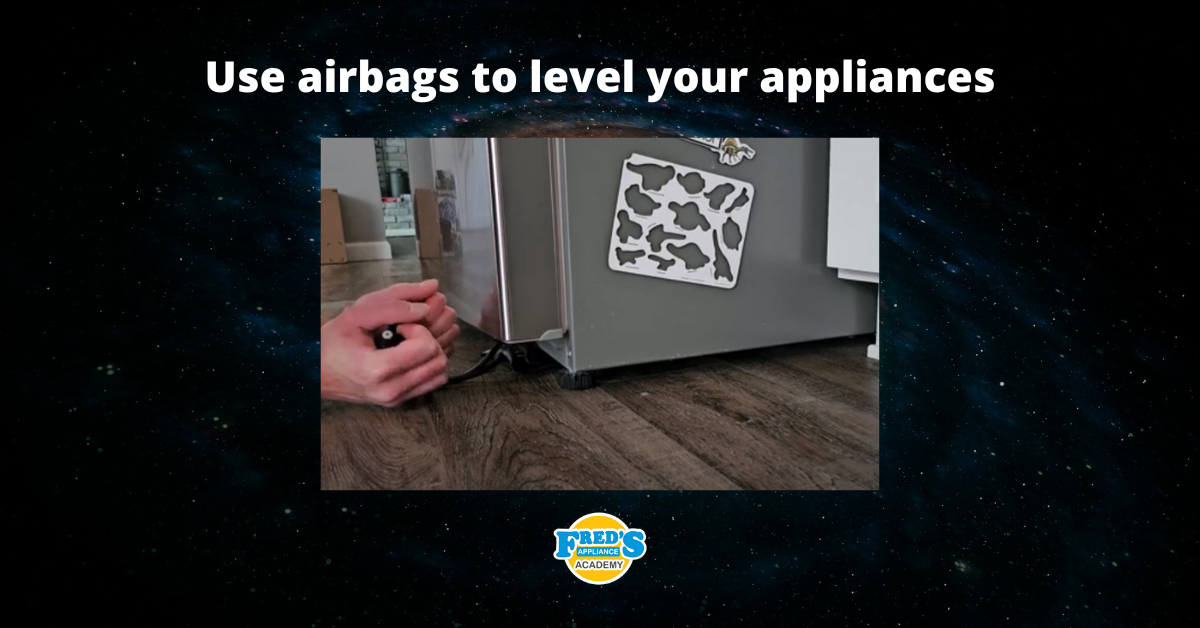
Clever ways to use airbags to level your appliances

Jan. 12, 2024