


Fred's Appliance Academy
August 9, 2022
Refrigerator Training
If your LG freezer isn’t getting cold enough, this guide will tell you exactly what you need to do to fix it. Simply start with step one in this guide and work your way through each step until you’ve managed to get your LG freezer working properly again.
This guide can be used for all major LG refrigerator/freezer models, including the following specific ones:
LFX31945ST
LMX25984SW
LMX25986ST
LMX28988SB
LMX28988ST
LMX28988SW
LRDC22743ST
LRDC22744ST
LRSC26980SB
LSFS213ST
LFX21976ST
LFX25950SB
LFX25950SW
LFX25950TT
LFX25976ST
LFX25991ST
LFX28978SB
LFX28978SW
LFX28979ST
LFX31925ST
LFX31935ST
Step 1 – Clean the condenser coils
The easiest thing you can do to get your LG freezer working properly again is to clean the condenser coils. The condenser coils dissipate heat when refrigerant goes through them, which helps to keep your freezer cool. When they become covered in dust or frost, it can prevent your freezer from working properly.
You can clean the condenser coils easily by following these steps:
- Turn your freezer off and pull it out from the wall.
- Locate the condenser coil cover and remove it.
- Once you have access to the condenser coils, check if they are covered in frost or dust. If covered in frost, let them defrost before giving them a clean. If covered in dust, give them a good clean with a damp cloth or use a vacuum cleaner.
- Once clean, put the cover back on them and turn your fridge back on.
- After a couple of hours, check if your LG freezer is cooling down correctly. If not, move on to step 2.
Step 2 – Test the temperature control thermostat
The purpose of the temperature control thermostat is to measure the temperature in your freezer and then tell the main control board this information so it can direct other components to turn on and off in your freezer. When it stops working, your LG freezer won’t get cold enough.
This is how you can test the temperature control thermostat:
- Open your freezer door and find the temperature control thermostat.
- Turn the setting on the thermostat to the lowest possible level and then turn it to the highest setting. You should be able to hear a click sound when you turn it past the current temperature in your freezer. If not, this means it’s faulty and will need to be replaced.
- Regardless of if you hear a click or not, it’s a good idea to test the thermostat with a multimeter for continuity.
- If the test shows no continuity, replace the thermostat. If the test shows continuity, the thermostat is working correctly, and you can move on to the next step.
Step 3 – Test the condenser fan
The next step is to check the condenser fan in your LG freezer. This fan helps to cool down the condenser coils. If it becomes faulty, your freezer might not cool down to the right temperature.
This is how you can test the condenser fan:
- Switch the power off to your LG freezer.
- Pull the freezer out from the wall so you can access the back panel.
- Locate the fan and remove the cover from it.
- Start by trying to turn the fan around manually to check if anything is obstructing it.
- If the fan is being obstructed, remove whatever is obstructing it.
- Next, disconnect the fan motor and then test it with a multimeter for continuity.
- If the motor doesn’t have continuity, the entire condenser fan unit will need to be replaced. If the motor is working correctly, move on to the next step.
- After a new fan unit has been installed, check if your LG freezer can now cool down to the correct temperature. If not, move on to the next step.
Step 4 – Test the start relay
The start relay works in conjunction with the start winding to ensure the compressor can function. When the start relay stops working, your LG freezer won’t get cold enough.
This is how you can test the start relay:
- Switch the power off to your LG freezer.
- Locate the start relay. If you don’t know where it’s located, consult your user manual.
- Disconnect the start relay and then test it with a multimeter for continuity.
- If the start relay doesn’t have continuity, it will need to be replaced. If the start relay is working correctly, move on to the next step.
- After a start relay has been installed, check if your LG freezer can now cool down to the correct temperature. If not, move on to the next step.
Step 5 – Test the compressor
The compressor is responsible for compressing the refrigerant and for distributing it through the condenser coils to keep your fridge and freezer cold enough. If the compressor doesn’t function correctly, your LG freezer won’t stay cool enough.
This is how you can test the compressor:
- Switch the power off to your LG freezer.
- Locate the compressor. If you don’t know where it’s located, consult your user manual.
- Use your multimeter to test the compressor for continuity. This can be done by placing the probes on the electrical pins on the side of the compressor.
- If the test shows that the compressor has an open circuit, the compressor is faulty and will need to be replaced. If the test doesn’t show an open circuit, the compressor is working correctly, and you can move on to the next step.
- At this point, you can decide to replace the compressor or purchase a new freezer. If you decide to replace the compressor, you will need to check if your freezer begins to work again properly after it’s installed. If not, your final option is to replace the main control board (see below).
Step 6 – Replace the main control board
The final step (and your final option) is to replace the main control board. This can be risky, as it isn’t guaranteed to solve the problem. Alternatively, you may decide to purchase a new freezer instead.
Join the industry's best trainers.

(800) 781-1814Text or ring! ring!
Live ChatClick to say hi

Apr. 05, 2024
How to test a gas range ignitor

Mar. 29, 2024
Congrats to our graduating March 2024 class

Mar. 22, 2024
How to test a 120 volt receptacle

Mar. 01, 2024
Congrats to our graduating February 2024 class

Feb. 05, 2024
Why Is Your Dishwasher Soap Not Dissolving? (5 Easy Fixes)

Feb. 05, 2024
Refrigerator Dripping Water Inside? 5 Quick Fixes
Feb. 02, 2024
Appliance Industry 2023 Q4 Results

Feb. 02, 2024
Congrats to our graduating January 2024 class
Jan. 26, 2024
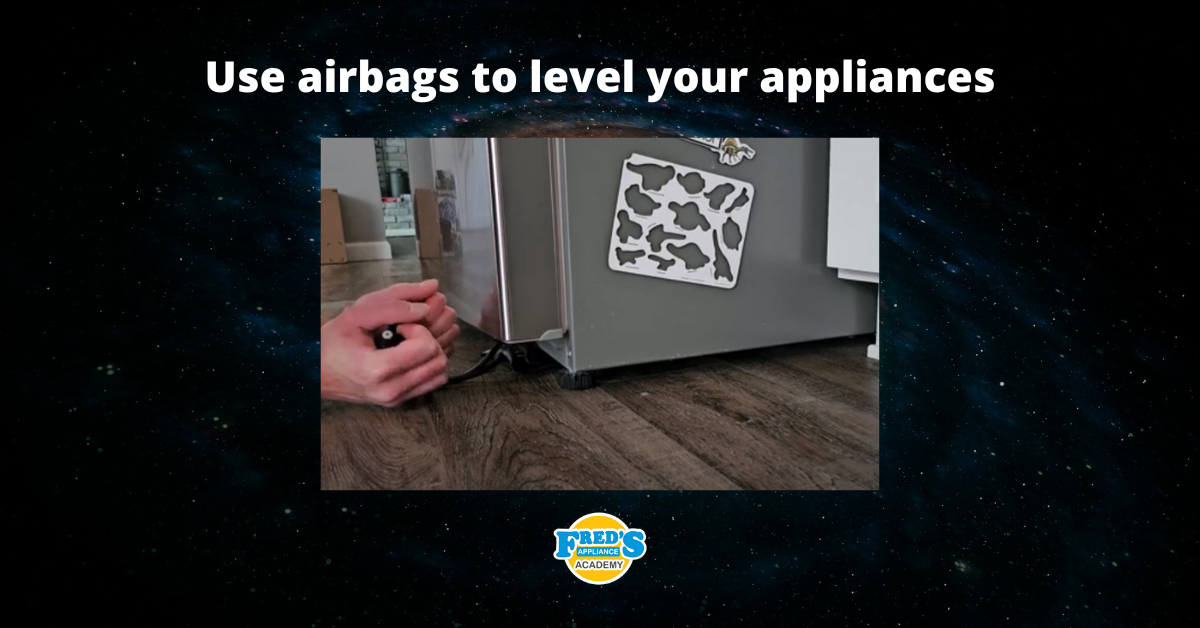
Clever ways to use airbags to level your appliances
Jan. 12, 2024