


Fred's Appliance Academy
March 7, 2023
Refrigerator Training
Most people don’t give much thought to their refrigerator coils. But did you know that dirty coils can cause your fridge to run less efficiently or even completely break down? An essential maintenance task that can help your refrigerator last longer and reduce your energy costs is cleaning the coils.
We’ll go over everything you need to know about cleaning your refrigerator coils in this comprehensive guide — including why it’s important, when to do it, and how to do it effectively and safely. With our detailed instructions and professional advice, you’ll be able to complete this frequently ignored task without difficulty.
How do refrigerator coils work?
Condenser coils, also referred to as refrigerator coils, are an essential part of the cooling system of the refrigerator. They are in charge of dissipating the heat produced by the refrigeration process and they are typically found at the bottom or back of the refrigerator.
The refrigerant cools the air as it passes through the refrigerator’s evaporator coils by absorbing heat from the unit’s interior. The condenser coils (they are in charge of dissipating the heat into the surrounding air), receive the refrigerant after it has passed through the compressor and been compressed.
The hot refrigerant cools down and condenses back into a liquid as it passes through the coils. To complete the refrigeration cycle, the cooled refrigerant then returns to the evaporator coils.
The process repeats itself, keeping the interior of the refrigerator cool and maintaining the freshness of the food inside.
Why do refrigerator coils need cleaning?
It is important to keep your refrigerator coils clean if you want your fridge to keep running optimally. The refrigerator coils are made to dissipate heat. When the coils get dirty the dust and grime works to insulate the coils so that they hold onto heat, which means that your refrigerator has to work harder to keep the interior cool.
When the fridge is running warmer than it should, it can lead to all kinds of problems. For one thing, your food might not stay as fresh as it should, since it’s not being kept at the right temperature. But more importantly, if your fridge is struggling to keep cool, it could eventually break down completely due to becoming overloaded.
How can you clean refrigerator coils?
Luckily, cleaning your refrigerator coils is easy! Read on to find out what to do.
Step 1. Turn your refrigerator off
It may seem obvious, but always turn your refrigerator off before you try to clean the coils in order to prevent any chance of electric shock.
Step 2. Locate the coils
Refrigerator coils can be located in different places depending on the type of refrigerator. In older models, the coils are usually located at the back of the refrigerator, either exposed or behind a grill.
In newer models, the coils may be located at the bottom of the refrigerator behind a kick plate or at the top of the refrigerator behind a panel. Once you have located the coils, you may need to pull the refrigerator away from the wall in order to get better access for cleaning.
Step 3. Vacuum the coils
Regardless of how dirty your coils are, the first step in cleaning refrigerator coils is always to vacuum the coils. If they are only moderately dirty, this step may be all that is needed. If they haven’t been cleaned for a long time and there is a lot of build up, you may need to move on to step 6.
Step 4. Use a coil cleaning brush
A coil cleaning brush is a brush designed specifically for cleaning refrigerator coils. It is long and flexible and is made to get between the coils and loosen hard to reach dirt. You can purchase a coil cleaning brush online or from your local hardware store. A coil cleaning brush is best used in tandem with your vacuum cleaner in order to suck up any dirt that is loosened during the process.
Step 5. Use compressed air
If your refrigerator coils are particularly dirty or if there are some areas that are too tight to reach even with a coil cleaning brush, you may need to use compressed air. You can purchase a can of compressed air from the hardware store or online.
Spray the compressed air at any hard to reach spot and it will displace any dust or debris. The only downside of this method is that it can make a big mess, as the dust that is displaced from the coils will end up all over the floor, so be prepared to vacuum the entire area after you’ve finished!
Step 6. Use a coil cleaning solution
If the dust on your refrigerator coils is damp or greasy or if it has been left there for a long time, it may not be possible to simply vacuum, blow or dust it off. In these cases, you’ll need to use a coil cleaning solution. You can again purchase this online or from a hardware store, and the instructions will be included with the product.
In general, you will need to spray the solution onto the coils, let it sit for a few minutes and then brush it off with a soft bristled brush. After the dust has been loosened, you can wipe the coils with a damp cloth to remove any residue.
Step 7. Put your refrigerator back in place and turn it on
Now that your refrigerator coils are sparkling clean, you should find it is cooling just as efficiently as when it was brand new!
Join the industry's best trainers.

(800) 781-1814Text or ring! ring!
Live ChatClick to say hi

Apr. 05, 2024
How to test a gas range ignitor

Mar. 29, 2024
Congrats to our graduating March 2024 class

Mar. 22, 2024
How to test a 120 volt receptacle

Mar. 01, 2024
Congrats to our graduating February 2024 class

Feb. 05, 2024
Why Is Your Dishwasher Soap Not Dissolving? (5 Easy Fixes)

Feb. 05, 2024
Refrigerator Dripping Water Inside? 5 Quick Fixes

Feb. 02, 2024
Appliance Industry 2023 Q4 Results

Feb. 02, 2024
Congrats to our graduating January 2024 class
Jan. 26, 2024
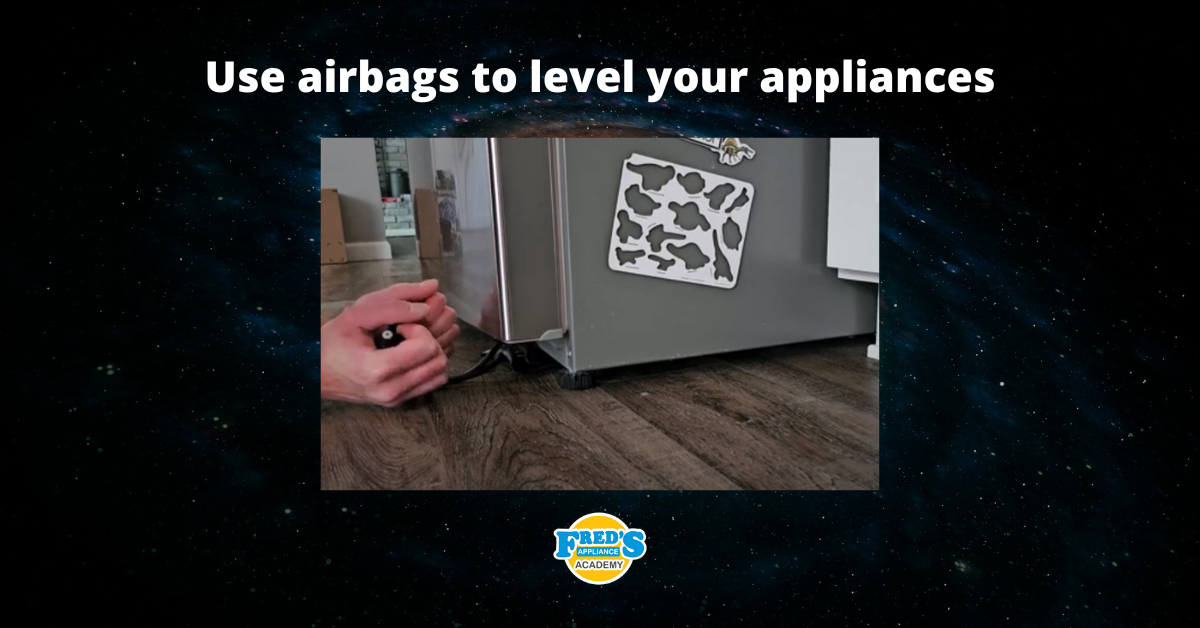
Clever ways to use airbags to level your appliances
Jan. 12, 2024