


Fred's Appliance Academy
September 24, 2020
Dryer Training
Dryers are among the most useful appliances in the home. Once they stop working, though, they are rendered redundant until you fix the underlying faults. While the Samsung brand is widely accepted as one of the most reliable for long-term usage, they are still vulnerable to wear and tear. Left untreated, clothes will be left wet and smelling. Before considering a replacement, though, you should know that a variety of quick-fix dryer repair services may correct the damage. This guide will help you with most Samsung models, including:
DVE45T6000W DVE45R6100P
DVE50T5300C DVG45R6100P
DVG45T6000W DV42H5000EW
DVE45R6300V DV40J3000EW
DVE60M9900V DVG45T3200W
DV22K6800EW DVG45R6300V
Symptoms of a Samsung Dryer Not Working as it Should
Is your Samsung dryer taking too long to dry clothes despite the fact it powers up and runs a cycle? The following symptoms are likely to occur:
- Dryer not heating.
- Dryer drum not turning.
- Dryer has a burning smell.
- Odd operational sounds.
- Clothes feel wet or smell.
Check the Error Code
If your Samsung Dryer is not working due to a mechanical fault, the on-board computer should detect it and inform you of the problem by displaying the error code. If this happens, your first step is to check it in the manual or via Samsung’s help center. This will provide clarity as to the severity of the issue and whether you need to call a professional repair service.
Test for a Vent Blockage
Most of the newer Samsung dryers boast blockage test capabilities from the control panel. If yours does, you should run the test before checking any other elements:
If a blockage is found, this is the chief reason for a lack of warmth. Clean the outside hood and the inner exhaust vent before running the test once more. If the new test shows a problem, finding a replacement vent that corresponds to your model should correct the issue.
If your Samsung dryer does not include this feature, you can disconnect the vent manually before running a cycle for one minute. Then open the drum to see if it feels hotter than it did before, you will need to thoroughly clean the vent before reattaching it.
Test Tripped Circuit Breakers
Like many brands, electric Samsung dryers have two breakers. While they should be connected in a way that means they’ll trip simultaneously, it is possible for only one of them to break. When this happens, the dryer will spin without producing heat.
You can complete a manual reset by turning the circuit off for one minute before switching it back on. Following this, start a cycle for 30 seconds on Time Dry before opening the door and putting your hand inside. If you can feel a little heat, your problem should be fixed.
Check The Socket Fuse
It’s very unlikely but if you’ve changed the plug and do not have enough voltage, the Samsung dryer won’t run properly. The heating function will naturally be the first to suffer should this occur. It’s not an applicable issue to many people, but it could be the source of problems in a small number of cases.
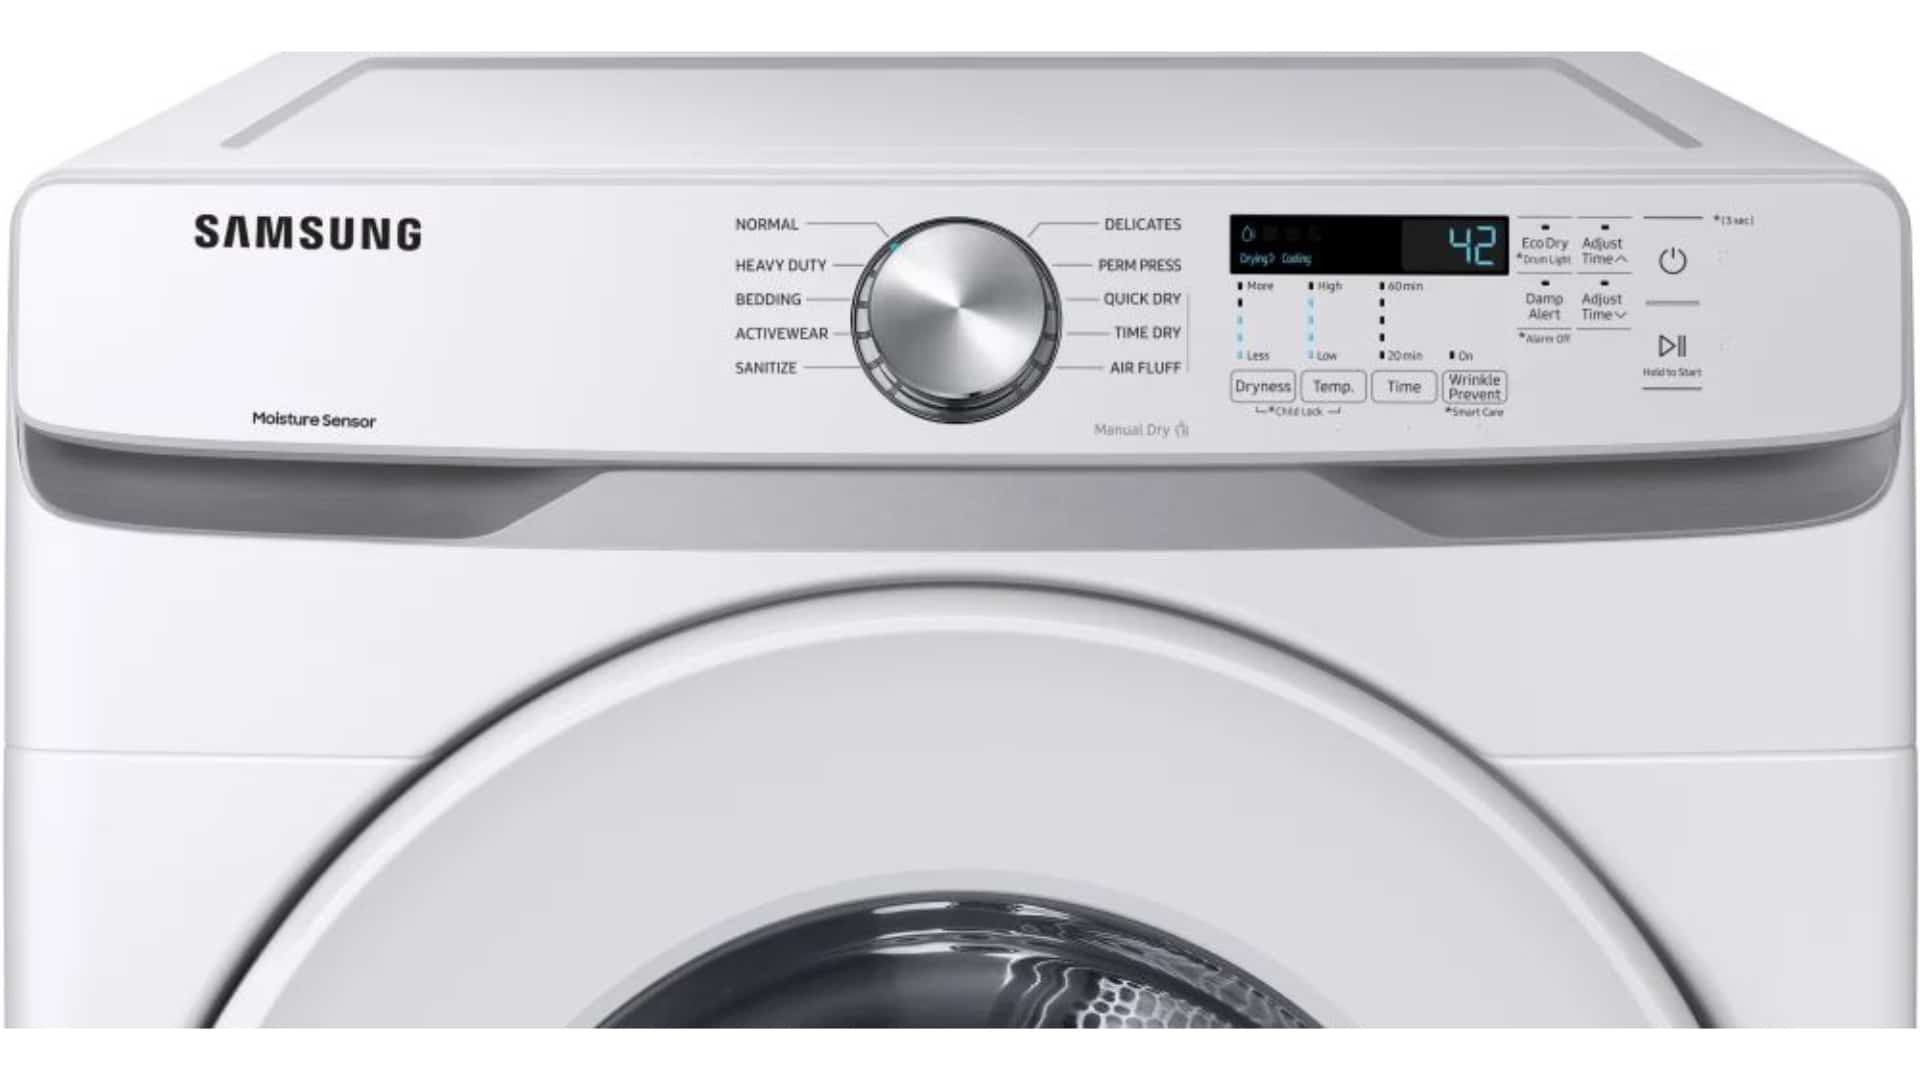
Change the Mode Settings
When running a cycle with a combination of heavy and light materials, the Mixed Load Bell/Damp Alert setting (depending on the age of your Samsung dryer) is designed to combat the issues caused by lighter items drying more quickly. Turn it on, and you’ll receive a notification when the load hits 80%. This enables you to remove the dry items and allow the final pieces to dry normally.
Similarly, when using a Sensor Dry cycle without gaining the desired results, simply increase the setting to a higher Dry Level and you should notice a significant improvement.
Check the Moisture Sensors
The moisture sensors are two bars inside the Samsung dryer that are usually found in the lint filter housing. They serve to detect wet clothes inside the cycle, which will tell the dryer to initiate or maintain the drying cycle. So, if they are obstructed by residue, the machine may not heat or will turn off the heat prematurely. Cleaning the sensors with a little soap and a soft cloth may fix the issue.
Overfilling the dryer is naturally problematic and can prevent clothes from drying. However, an overly small load will also result in the dryer not heating because the moisture sensors will not detect enough damp clothes to switch the heating elements on. Either wait until the load is bigger, or add a couple of wet towels to combat the issue.
Check the Lint Filter & Drainage
While checking the drum, the lint filter should be changed. This is where the majority of moisture will collect, and too much of it will prevent the machine from working properly as the moisture won’t be able to leave the dryer. The lint filter should ideally be changed after every cycle to avoid accumulated moisture.
Similarly, the drainage should be checked. If the Samsung model has a drainage hose, you must check that it is installed properly and not submerged by water. Meanwhile, internal water tanks should be changed every 1-2 cycles.
Test the Thermostat
A faulty thermostat will stop the dryer from receiving enough hot air to adequately dry the clothes. Using a multimeter will allow you to test the performance of the thermostat and determine whether a replacement thermostat is required when your Samsung model is not working.
Overheating can cause the heating fuse to become faulty, which will result in a spinning drum without heat. The multimeter test will determine problems with this part of the dryer’s heating mechanisms too.
Check the Heating Element
If the dryer has a burning smell, the heating element may be burnt out. Poor maintenance will encourage this to happen far sooner. The heating element is usually found behind the front panel. Turn off the machine and access it by removing the control panel and front panel. A visual inspection should quickly confirm your suspicions.
When it is damaged, it’s vital that you respond quickly by replacing it as to avoid escalating damage and possible health hazards. The Samsung heating element can usually be replaced for under $100 (often nearer $50) and changed on a DIY basis.
Join the industry's best trainers.

(800) 781-1814Text or ring! ring!
Live ChatClick to say hi

Apr. 05, 2024
How to test a gas range ignitor

Mar. 29, 2024
Congrats to our graduating March 2024 class

Mar. 22, 2024
How to test a 120 volt receptacle

Mar. 01, 2024
Congrats to our graduating February 2024 class

Feb. 05, 2024
Why Is Your Dishwasher Soap Not Dissolving? (5 Easy Fixes)

Feb. 05, 2024
Refrigerator Dripping Water Inside? 5 Quick Fixes

Feb. 02, 2024
Appliance Industry 2023 Q4 Results

Feb. 02, 2024
Congrats to our graduating January 2024 class
Jan. 26, 2024
Clever ways to use airbags to level your appliances

Jan. 12, 2024