


Fred's Appliance Academy
March 8, 2021
Dryer Training
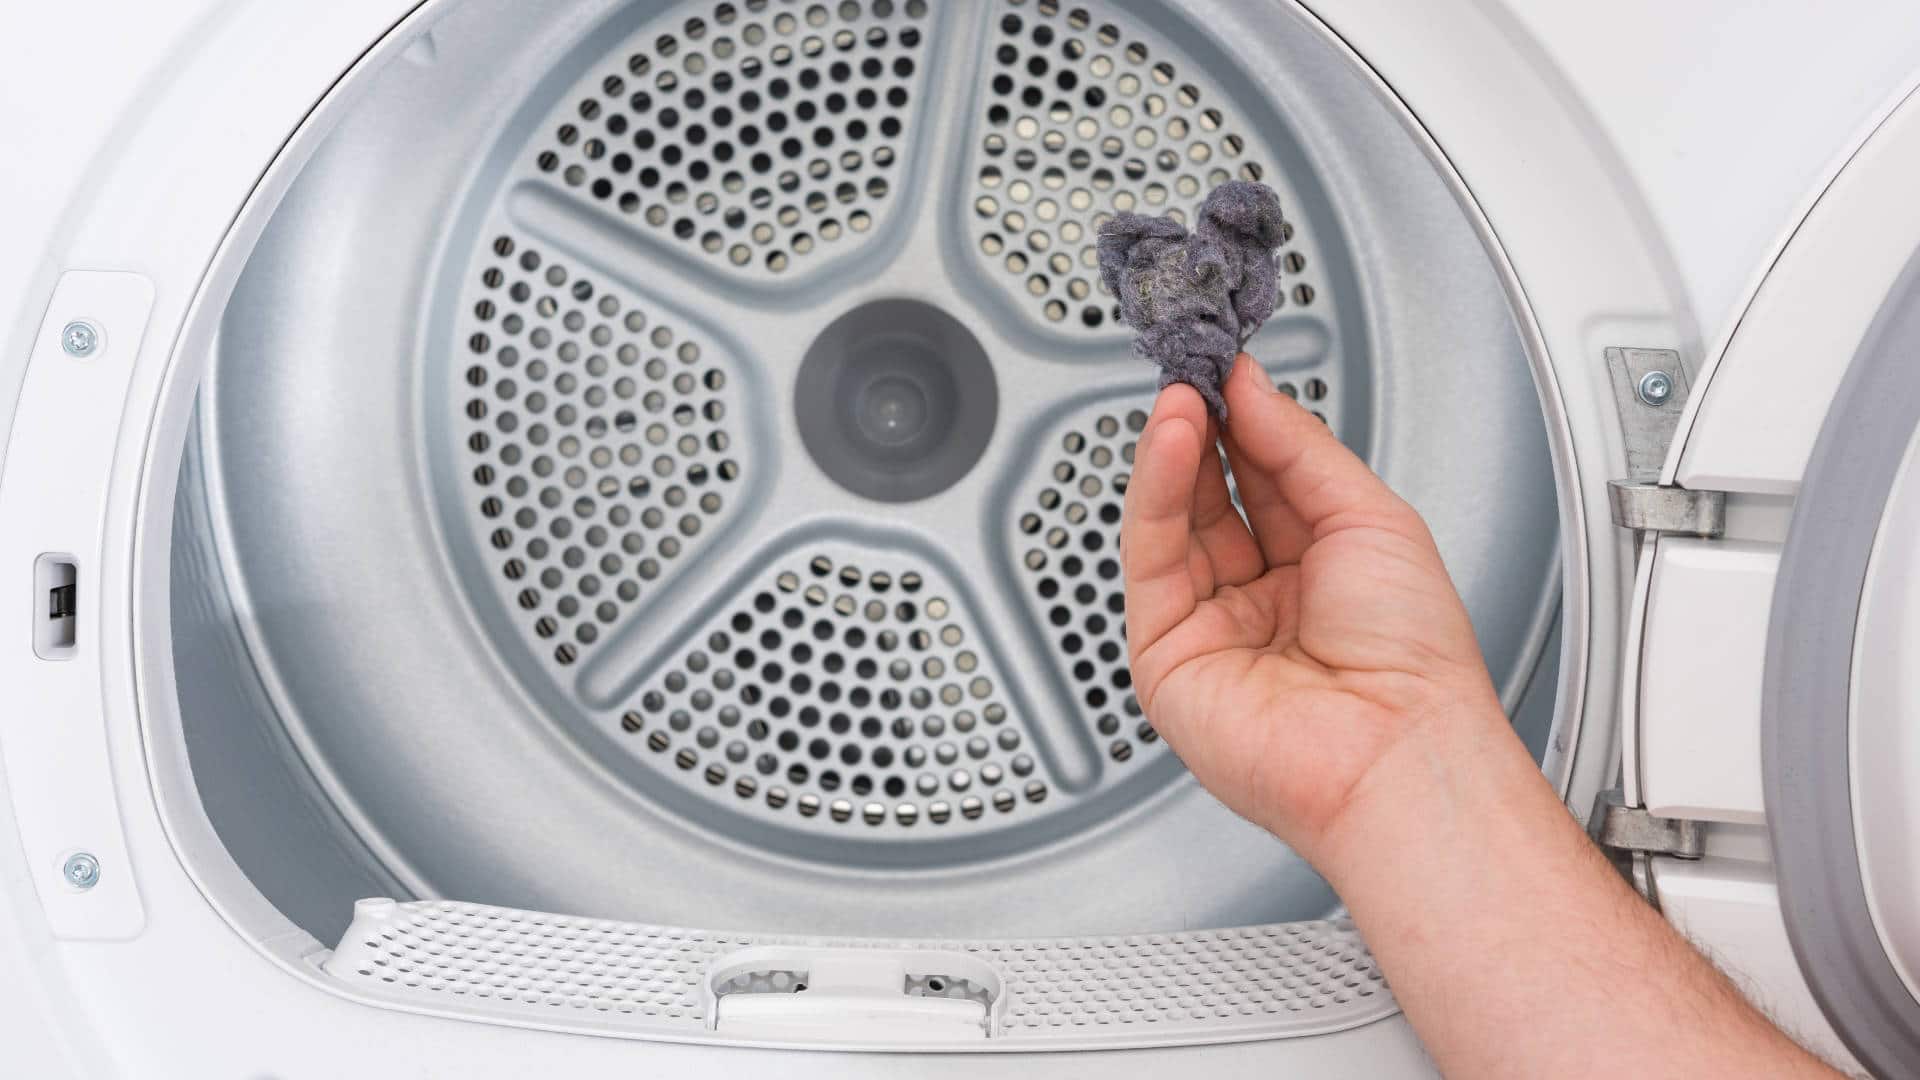
Is your GE dryer not turning? No need to stress. It could be something simple that can easily be repaired or replaced. To find the cause of the problem, follow all of our recommended steps in this guide, and hopefully you’ll find what’s stopping it from turning so you can fix it.
This guide is applicable for most models of GE dryers, including:
CADE165RAL
CADG265RAL
CADG265RBL
CADG265RCL
DBLR333ET0AA
DBLR333ET0WW
DBXR300EG3WS
DHDSR46EG8WW
GHDX100EM0WW
GTDP180ED2WW
GTDP180ED3WW
GTDP200EM0WW
GTDP200EM1WW
GTDP200EM2WW
GTDP220EF0WW
GTDP220EF1WW
GTDP220EF2WW
GTDX200EM0WW
GTDX200EM1WW
GTDX200EM2WW
GTDX205EM1CC
Check the Drive Belt
The first component of the dryer to check is the drive belt. The drive belt goes around the entire dryer drum and is connected to the drive motor pulley. When the belt breaks, the dryer stops turning.
You can check the drive belt by:
- Trying to turn the drum in the dryer by hand.
- If the drum turns around easily, then this means the belt is probably broken. If, however, it doesn’t turn around easily, it is fine, and you can move on to the next step.
- Before replacing it, confirm it is broken by inspecting it – you’ll have to remove the dryer’s panels to inspect it.
Check the Drum Roller
The next component to inspect is the drum rollers, which you can find on the rear of the drum. Most GE dryers have two rollers, but some will also have two additional rollers that support the front of the drum. If the rollers cannot spin freely or they are worn out, the dryer will not be able to turn.
You can check the rollers by:
- Removing the belt from the dryer (you’ll have to take the top panel off if you haven’t already) and then seeing if you can turn the drum around manually.
- If it turns freely, then it is fine, and you can move on to checking the next component. If it does not turn easily, check the rollers for any signs of wear and tear.
- If you find that one or more of the rollers are worn out, you should replace all of them (not just the worn-out one). This will help future-proof the fix.
- Please note that the roller shaft can be reused if it isn’t damaged or worn out, but make sure you give it a good clean before installing the new set of rollers.
Inspect the Drum Roller Axle
Next, check the drum roller axle. In most dryers, you’ll find two drum support rollers on the rear of the drum, and in other models, you’ll also find two other rollers at the front of the drum. Over time, one or more of the drum roller axles can wear out, which causes the rollers to bind. When this happens, the motor will overload, and the dryer will not be able to turn around properly.
You can check them by:
- Removing the belt from the dryer and then attempting to turn the dryer drum by hand.
- If you can spin the drum around without the rollers “wobbling,” then the rollers are fine, and you should move on to the next step. However, if the drum does not spin freely, then you’ll need to check the rollers for wear and tear.
- If you find any noticeable wear and tear, you’ll need to replace all of the axles and rollers.
Check the Drum Bearing
The next component to check is the drum bearing. This component functions to support the rear of the dryer drum. When it wears out, it will stop the dryer from operating correctly.
To check the bearing:
- Remove the belt from the dryer, and then attempt to turn the dryer drum by hand.
- If you can spin the drum around freely, then the drum bearing is not worn out, and you can move on to the next step. However, if it makes a squealing or grinding type sound when you turn the drum, inspect the drum bearing when turning it and see if it needs to be replaced.
- If you find it to be faulty, you will need to replace it.
Inspect the Drum Support Roller and Axle
The next step is to check the drum support roller and axle to determine if they are worn out and need to be replaced. Like other components, over time they can, unfortunately, wear out and start to bind, causing the dryer to stop turning. Your GE dryer will either have two drum support rollers or four.
You can check if they are worn out by:
- Removing the dryer belt and then attempting to turn the drum around by hand.
- If it moves around freely and the rollers do not “wobble” around, then they are fine, and you can move on to checking the next component.
- If they do “wobble” when turning the dryer drum around by hand, then check the rollers for any signs of wear and tear.
- If you find them to be worn out, you’ll need to replace all of the rollers.
Check the Drum Glides
Another possible cause of the problem could be one or more of the dryer’s glides (sometimes they are called slides) getting worn out. The glides are small, plastic components that support the front of the dryer, and when it rotates around, the dryer glides on them. When they get worn out, the dryer drum can start to bind; this puts pressure on the motor, which causes it to shut down.
To see if they need to be replaced, simply:
- Check the drum glides for any signs of wear and tear.
- If you find any obvious signs of wear and tear, you will need to replace all of the glides. If they are in good condition, they don’t need to be replaced.
Check the Idler Pulley
The next component to check is the idler pulley. The idler pulley is connected to the drum belt and helps it operate correctly.
You can check it by:
- Locating the idler pulley.
- Make sure that the idler pulley spins freely on the shaft and is not obstructed in any way.
- If it is worn, damaged, or is stuck, then you will need to replace it along with the drum drive belt.
Test the Drive Motor
The final component to check is the dryer’s drive motor. The drive motor turns the drum and the blower wheel. When it stops working correctly, your dryer will stop turning.
You can check it by:
- Checking the motor and determining if it is making a humming sound when operating.
- If you hear a humming sound, then the next step is to remove the belt from the motor and ensure that the blower wheel is not obstructed in any way.
- Once the belt is removed, try to move the drum around manually.
- If the drum moves freely around and nothing is obstructing the blower wheel, then you should consider replacing the motor.
Join the industry's best trainers.

(800) 781-1814Text or ring! ring!
Live ChatClick to say hi

Apr. 05, 2024
How to test a gas range ignitor

Mar. 29, 2024
Congrats to our graduating March 2024 class

Mar. 22, 2024
How to test a 120 volt receptacle

Mar. 01, 2024
Congrats to our graduating February 2024 class

Feb. 05, 2024
Why Is Your Dishwasher Soap Not Dissolving? (5 Easy Fixes)

Feb. 05, 2024
Refrigerator Dripping Water Inside? 5 Quick Fixes

Feb. 02, 2024
Appliance Industry 2023 Q4 Results

Feb. 02, 2024
Congrats to our graduating January 2024 class
Jan. 26, 2024
Clever ways to use airbags to level your appliances
Jan. 12, 2024