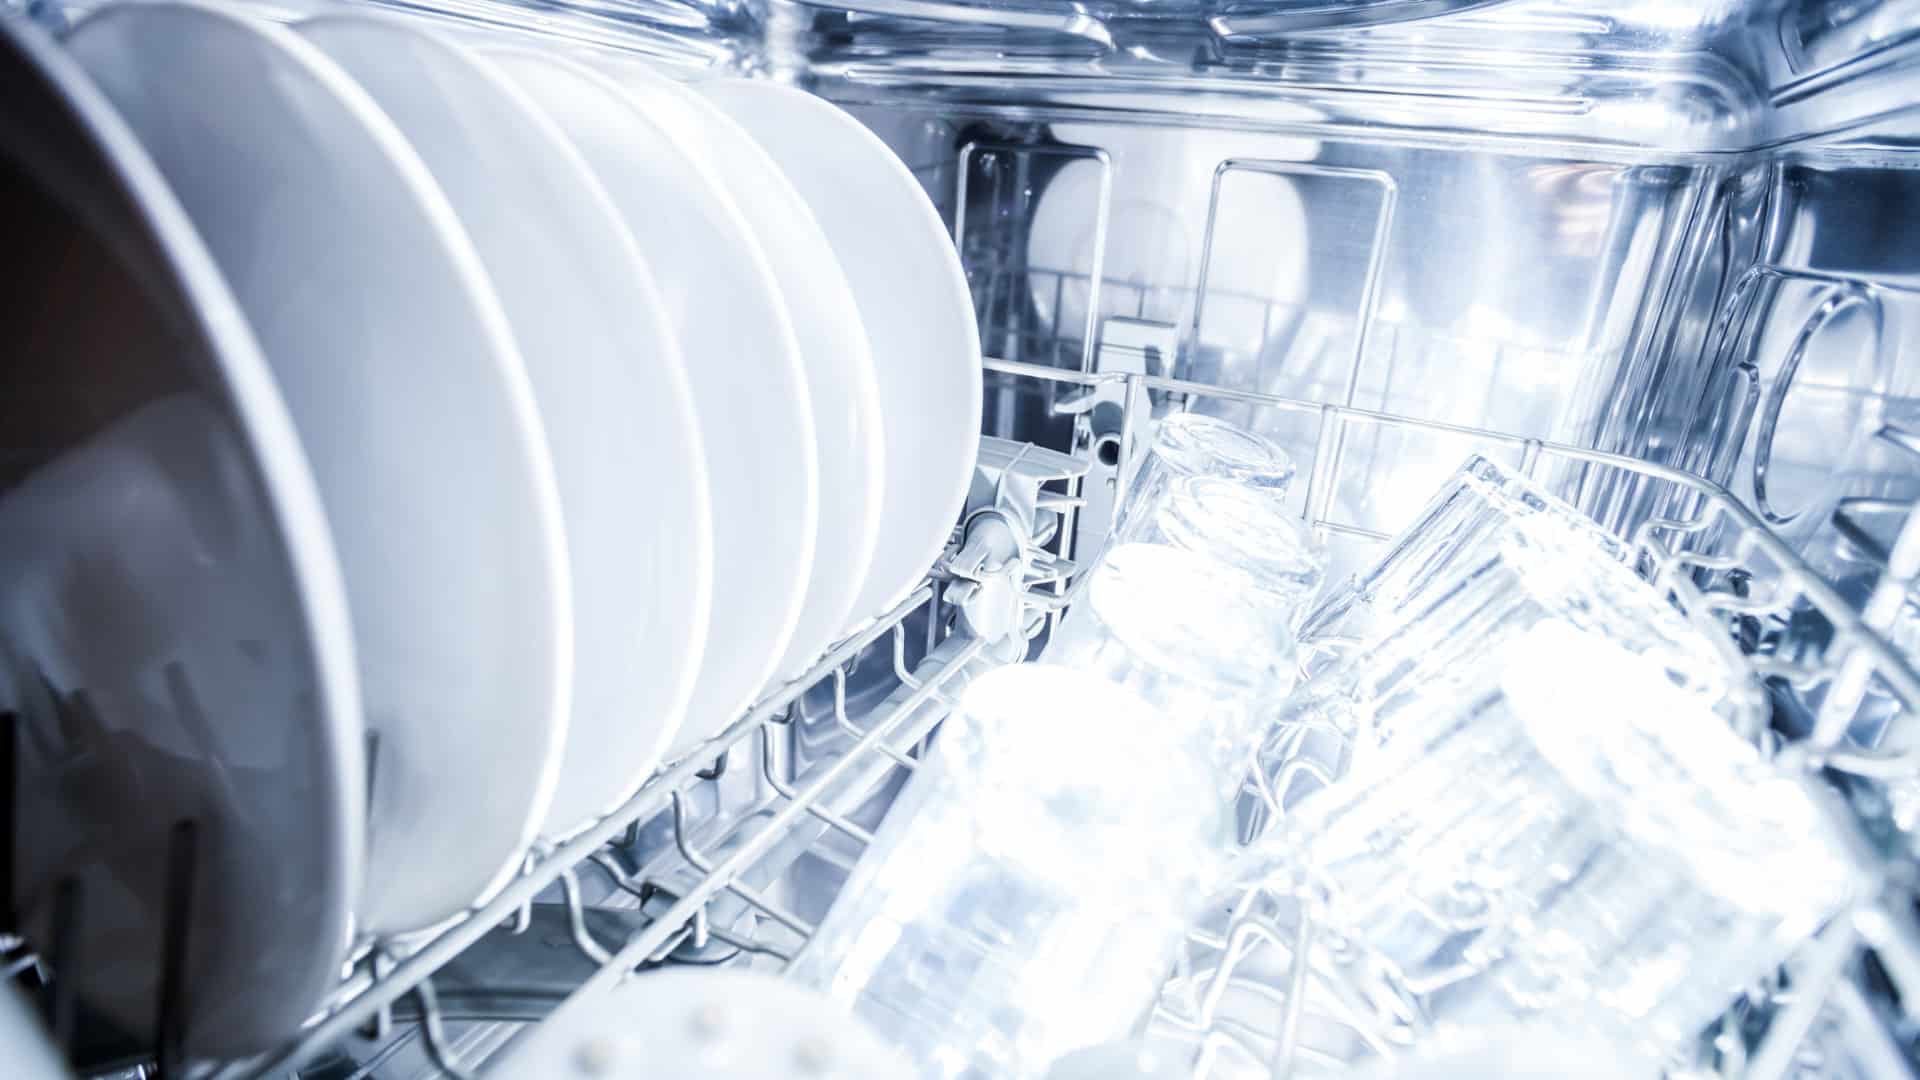
An LG dishwasher showing the AE error code means you have a leak inside your dishwasher, which activates the float switch. Before you can start using your dishwasher again, you will have to find and fix the underlying cause of the leak.
Sometimes the AE error code is caused by something simple to fix, like resetting your dishwasher or changing the detergent you use. But if those fixes don’t work, you will have to inspect and, if necessary, repair internal components.
This guide applies to all major LG dishwasher models, including:
LDF6810BB
LDF6810ST
LDF6810ST/01
LDF6810WW
LDF6920BB
LDF6920ST
LDF6920WW
LDF7551ST
LDF7774ST
LDF7810BB
LDF7810ST
LDF7810WW
LDF7811BB
LDF7811ST
LDF7932ST
LDS4821BB
LDS4821ST
LDS4821WW
LDS5540ST
LDS5811ST
LDS5811WW
Step 1 – Reset Your Dishwasher
Start by doing a simple reset of your dishwasher. Sometimes the error code can show by accident or due to a problem with the control board. A simple reset may remove the code and allow you to start using your dishwasher again. To reset your dishwasher, turn the power off for 10 minutes before turning it back on again. If the AE error code is still showing, proceed to the next step.
Step 2 – Check the Drain Pan
The AE error code shows when the float sensor detects too much water in the bottom part of your appliance. To remove the error code and start using your dishwasher again, you need to empty the drain pan.
Follow these instructions to check the drain pan:
- Locate the float sensor/ drain pan.
- Check if it has any water in it. If so, remove it. If there isn’t any water in the pan, you can proceed to step 3.
- Check if the error code has gone. If the error code comes back on again, you will need to investigate the cause of the leak causing the code. Start with step 3.
Step 3 – Check Your Cleaning Detergent
Before going any further, check your cleaning detergent to ensure it is a high-efficiency (HE) one. This is important because the wrong type of detergent can cause too many suds in the dishwasher drum, which can cause water to leak out. If you use pods or tablets, you can skip this step as they generally contain the correct amount of detergent.
If you find you’re using the wrong detergent, change it and then check if this stops the error code from showing again. If you are using the correct detergent or changing it doesn’t stop the code from showing, proceed to step 4.
Step 4 – Check the Dishwasher Spray Arms
The next step is to check the spray arms. Your dishwasher has multiple spray arms that distribute water through your appliance. If they get blocked up or move out of position, water can leak out of your dishwasher through the door.
Follow these instructions to check the spray arms:
- Remove all of the spray arms.
- Check them for blockages. This can be done by running water through them to give them a clean. If any debris is blocking them, use a piece of wire to unblock them.
- Once clean, put it back into your dishwasher. Make sure they are correctly positioned in their slots.
- Turn your dishwasher on and check if it can work without the AE error code displaying. If not, proceed to step 5.
Step 5 – Check the Door Gasket
Another possible cause of a leak in your LG dishwasher is a defective door gasket. The door gasket, also called a seal, goes around the door and stops water from leaking out. If it becomes defective, a leak can occur.
Follow these instructions to check the door gasket:
- Open the dishwasher door.
- Carefully inspect the entire door gasket/seal.
- If damaged, it will need to be replaced.
- Give the gasket a good clean with hot soapy water. This will remove any debris that is stopping the door from closing properly.
- Once clean and/or the gasket is replaced, check if your LG dishwasher stops displaying an AE error code. If not, proceed to step 6.
Step 6 – Check the Water Inlet Valve
The water inlet valve is the next component to check if the AE error code is showing on your LG dishwasher. The valve opens and closes to allow water into your appliance. If it becomes defective, your dishwasher may fill up with too much water, which can cause a leak to occur.
Follow these instructions to check the water inlet valve:
- Locate the water inlet valve.
- Start by checking the valve for signs of a leak. If leaking, it will need to be replaced.
- If there isn’t any obvious leak, the next step is to remove the hose and check the filter and hose for any signs of a leak. Before doing so, turn the water supply off.
- If fine, you can proceed to step 7. If any components are damaged, replace them.
- If you repair or replace any components check if doing so has solved the problem. If not, proceed to step 7.
Step 7 – Check the Float Sensor
The float sensor monitors how much water is in your dishwasher. If it becomes faulty, too much water might get into your dishwasher, causing a leak. The float sensor can be removed and tested with a multimeter. If faulty, it will need to be replaced.
Follow these instructions to check the float sensor:
- Start by switching the power supply off.
- Next, turn the water supply off.
- Locate the float switch (it’s at the bottom of the dishwasher).
- Remove the float sensor.
- Test it with a multimeter. If it has continuity, reattach it to your dishwasher and proceed to step 8. If it doesn’t have continuity, replace it.
- Once replaced, check if the AE error code has stopped showing. If not, proceed to step 8.
Step 8 – Get the Control Panel Inspected
Your final option is to get the control panel inspected by a qualified technician. Unfortunately, they need to be replaced most of the time. Your final option is to purchase a new dishwasher.
How to test a gas range ignitor

Congrats to our graduating March 2024 class
How to test a 120 volt receptacle

Congrats to our graduating February 2024 class
Why Is Your Dishwasher Soap Not Dissolving? (5 Easy Fixes)
Refrigerator Dripping Water Inside? 5 Quick Fixes

Appliance Industry 2023 Q4 Results

Congrats to our graduating January 2024 class
Clever ways to use airbags to level your appliances
